In December of 2020, I was commissioned to paint an oil painting of San Francisco, California. And for the first time in history I managed to film the ENTIRE process! There is full length timelapse video of this painting now up on our Youtube channel “Painting with Lindsey & Nate”. Check it out here…
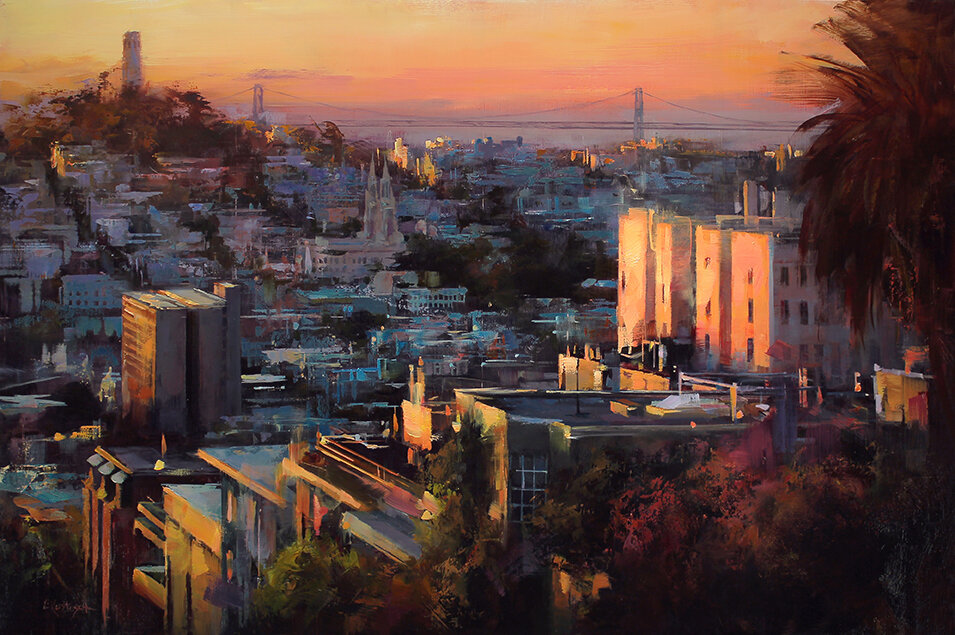
San Francisco is gorgeous city known for its steep hilly streets lined with cable car wires and colorful Victorians, breathtaking views of the bay, and all of its iconic ‘Summer of Love’ West Coast beauty. One of my favorite cities in the world, and a place I was fortunate enough to call home for close to 15 years.
The request for the painting was to not only paint a San Francisco street scene, but to depict a memory of “home” for the collector. We discussed what elements would best represent San Francisco for them, as well as what overall color palette and size would best fit their home. After several iterations and photoshop adjustments, we narrowed it down to a morning on Russian Hill looking out over the bay. Except, we changed a few things! The less exciting buildings on the right were replaced with a row of ornate Victorians from the Mission district, cars were removed and palm trees were added, as well as areas of “busyness” to help add color and personality to the sidewalks and streets. The end result being a collaborative composition between the collector and myself.

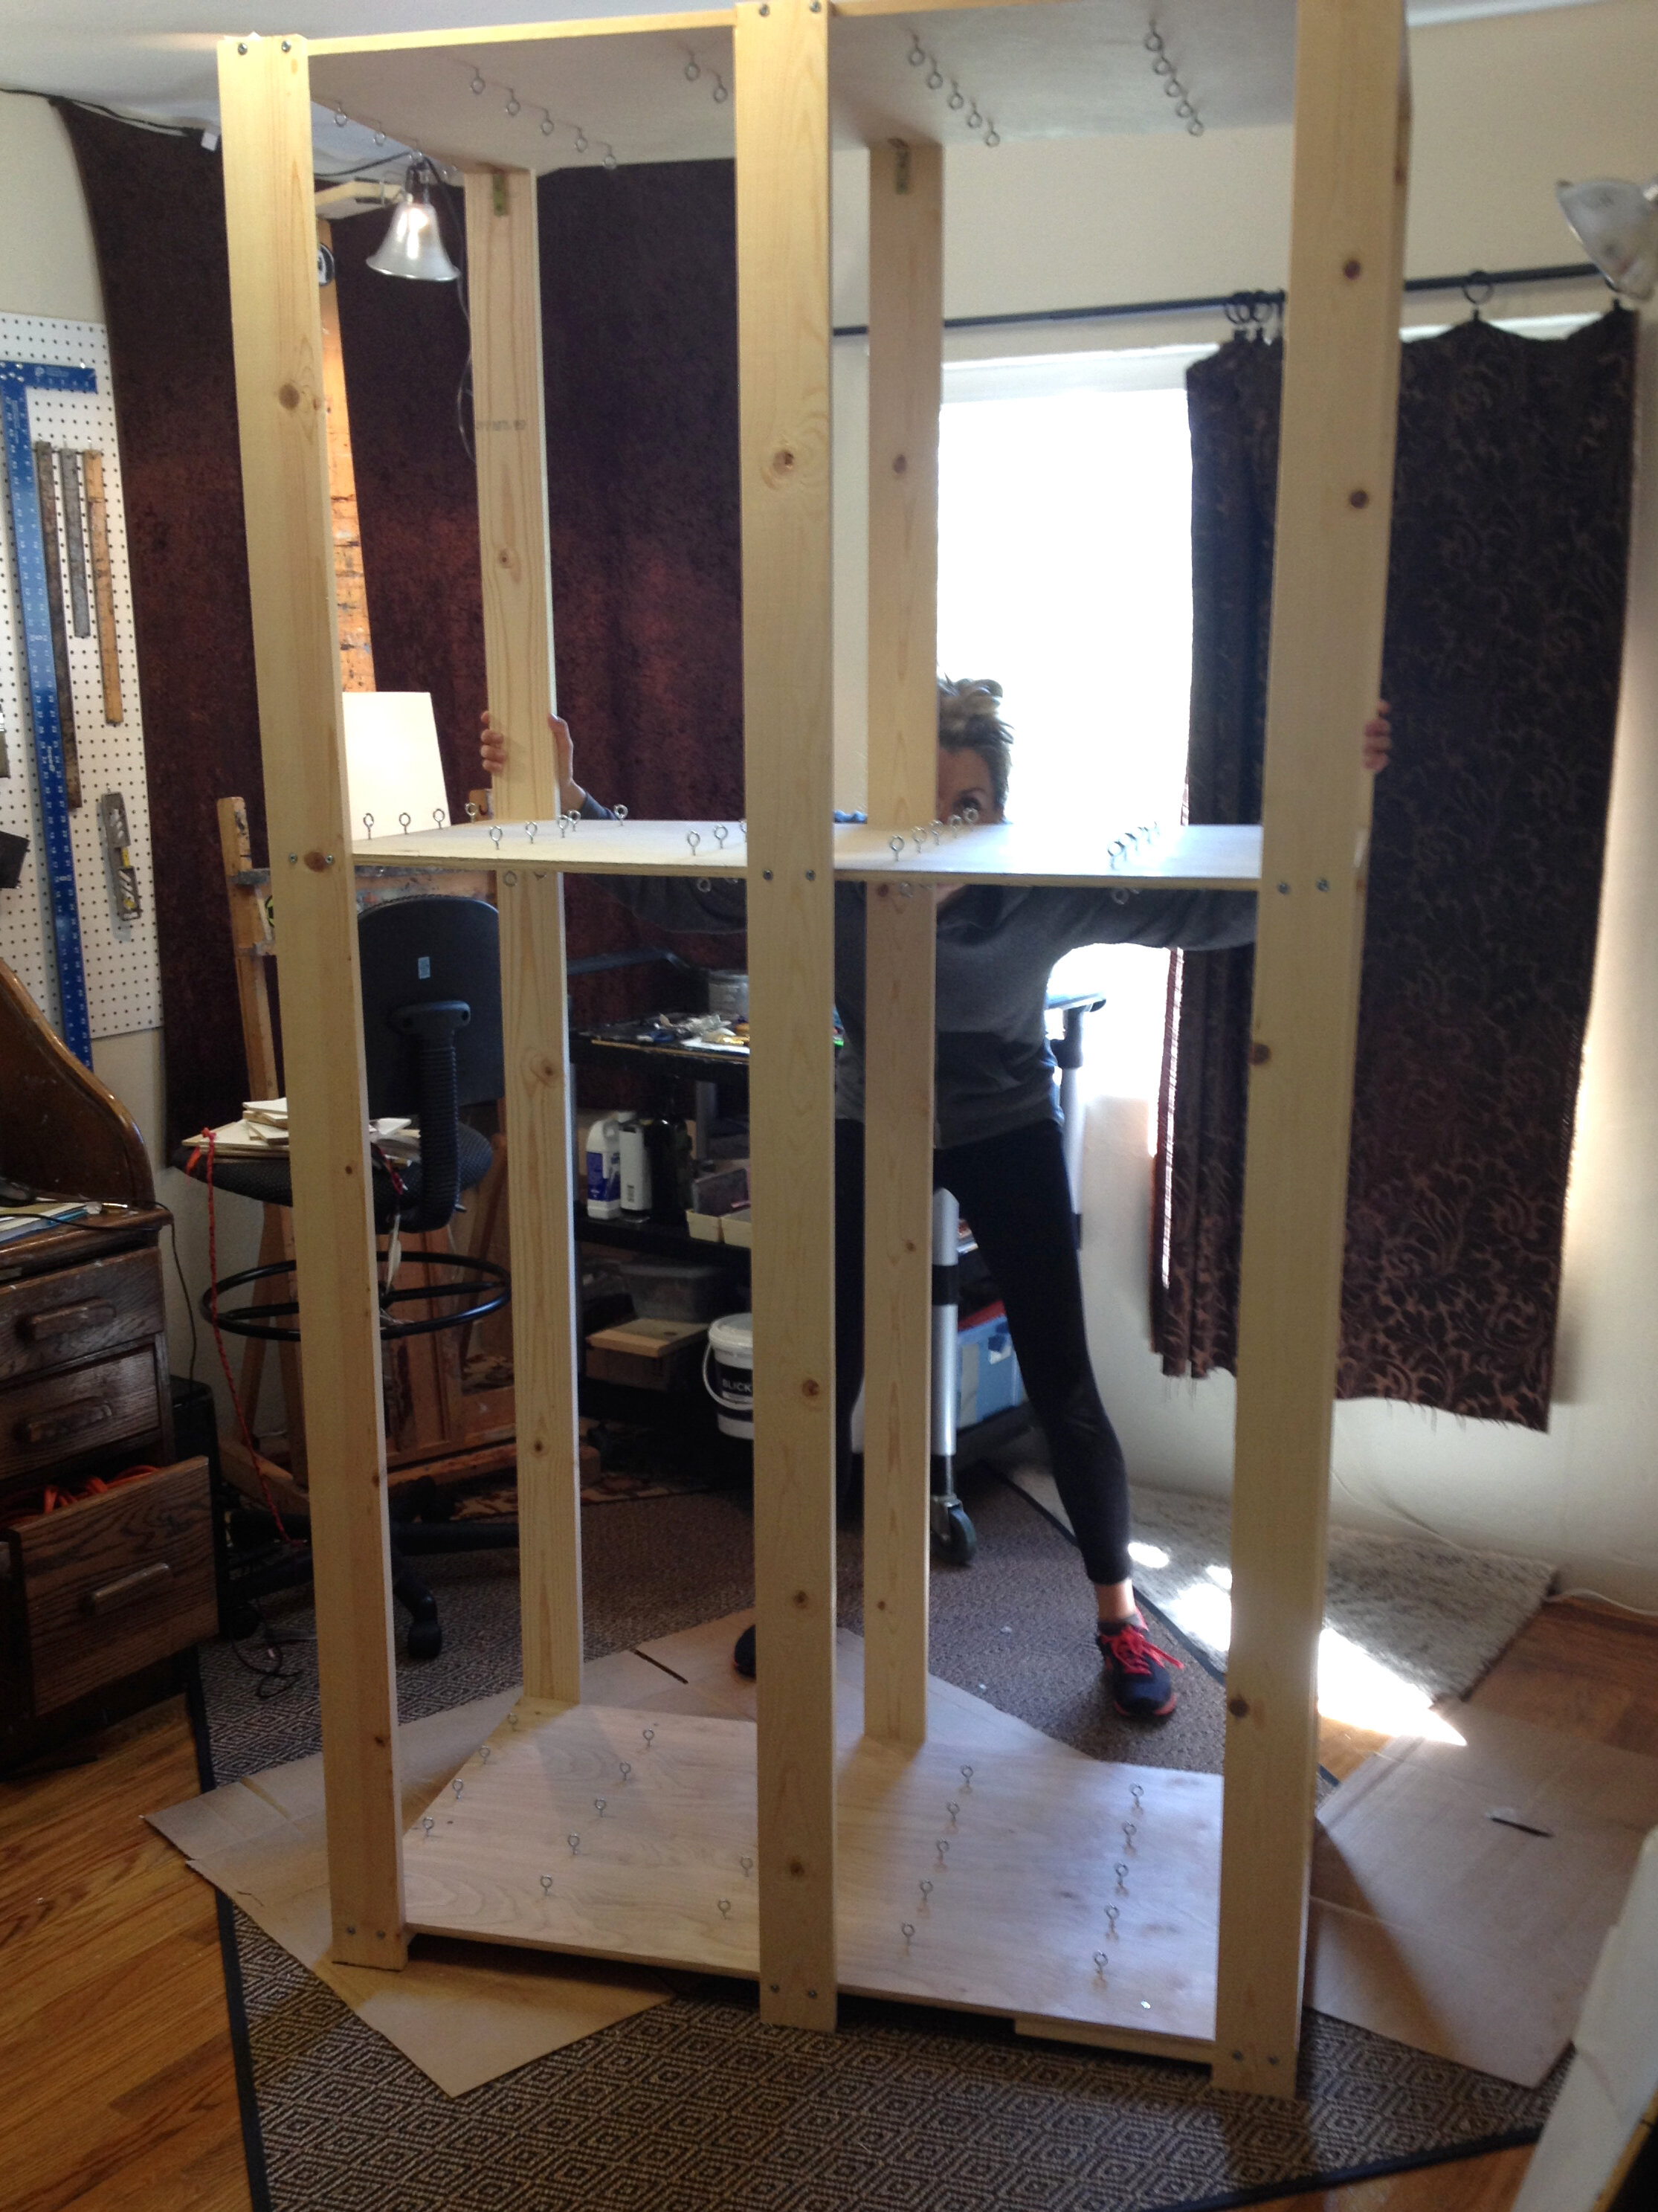
The size was enormous, measuring 26x60 inches, so the challenges were stacked high and wide for this type of scene. The drawing and perspective absolutely had to be correct, otherwise the mistakes would be glaring. And working in a small bedroom studio, backing up to see the painting from a distance was next to impossible. Plus not to mention the sheer amount of paint that’s needed to cover a panel this size! So saying I was overwhelmed is putting it lightly, but I was also very excited to really dig my teeth into a project this size of a place that is so close to my heart.
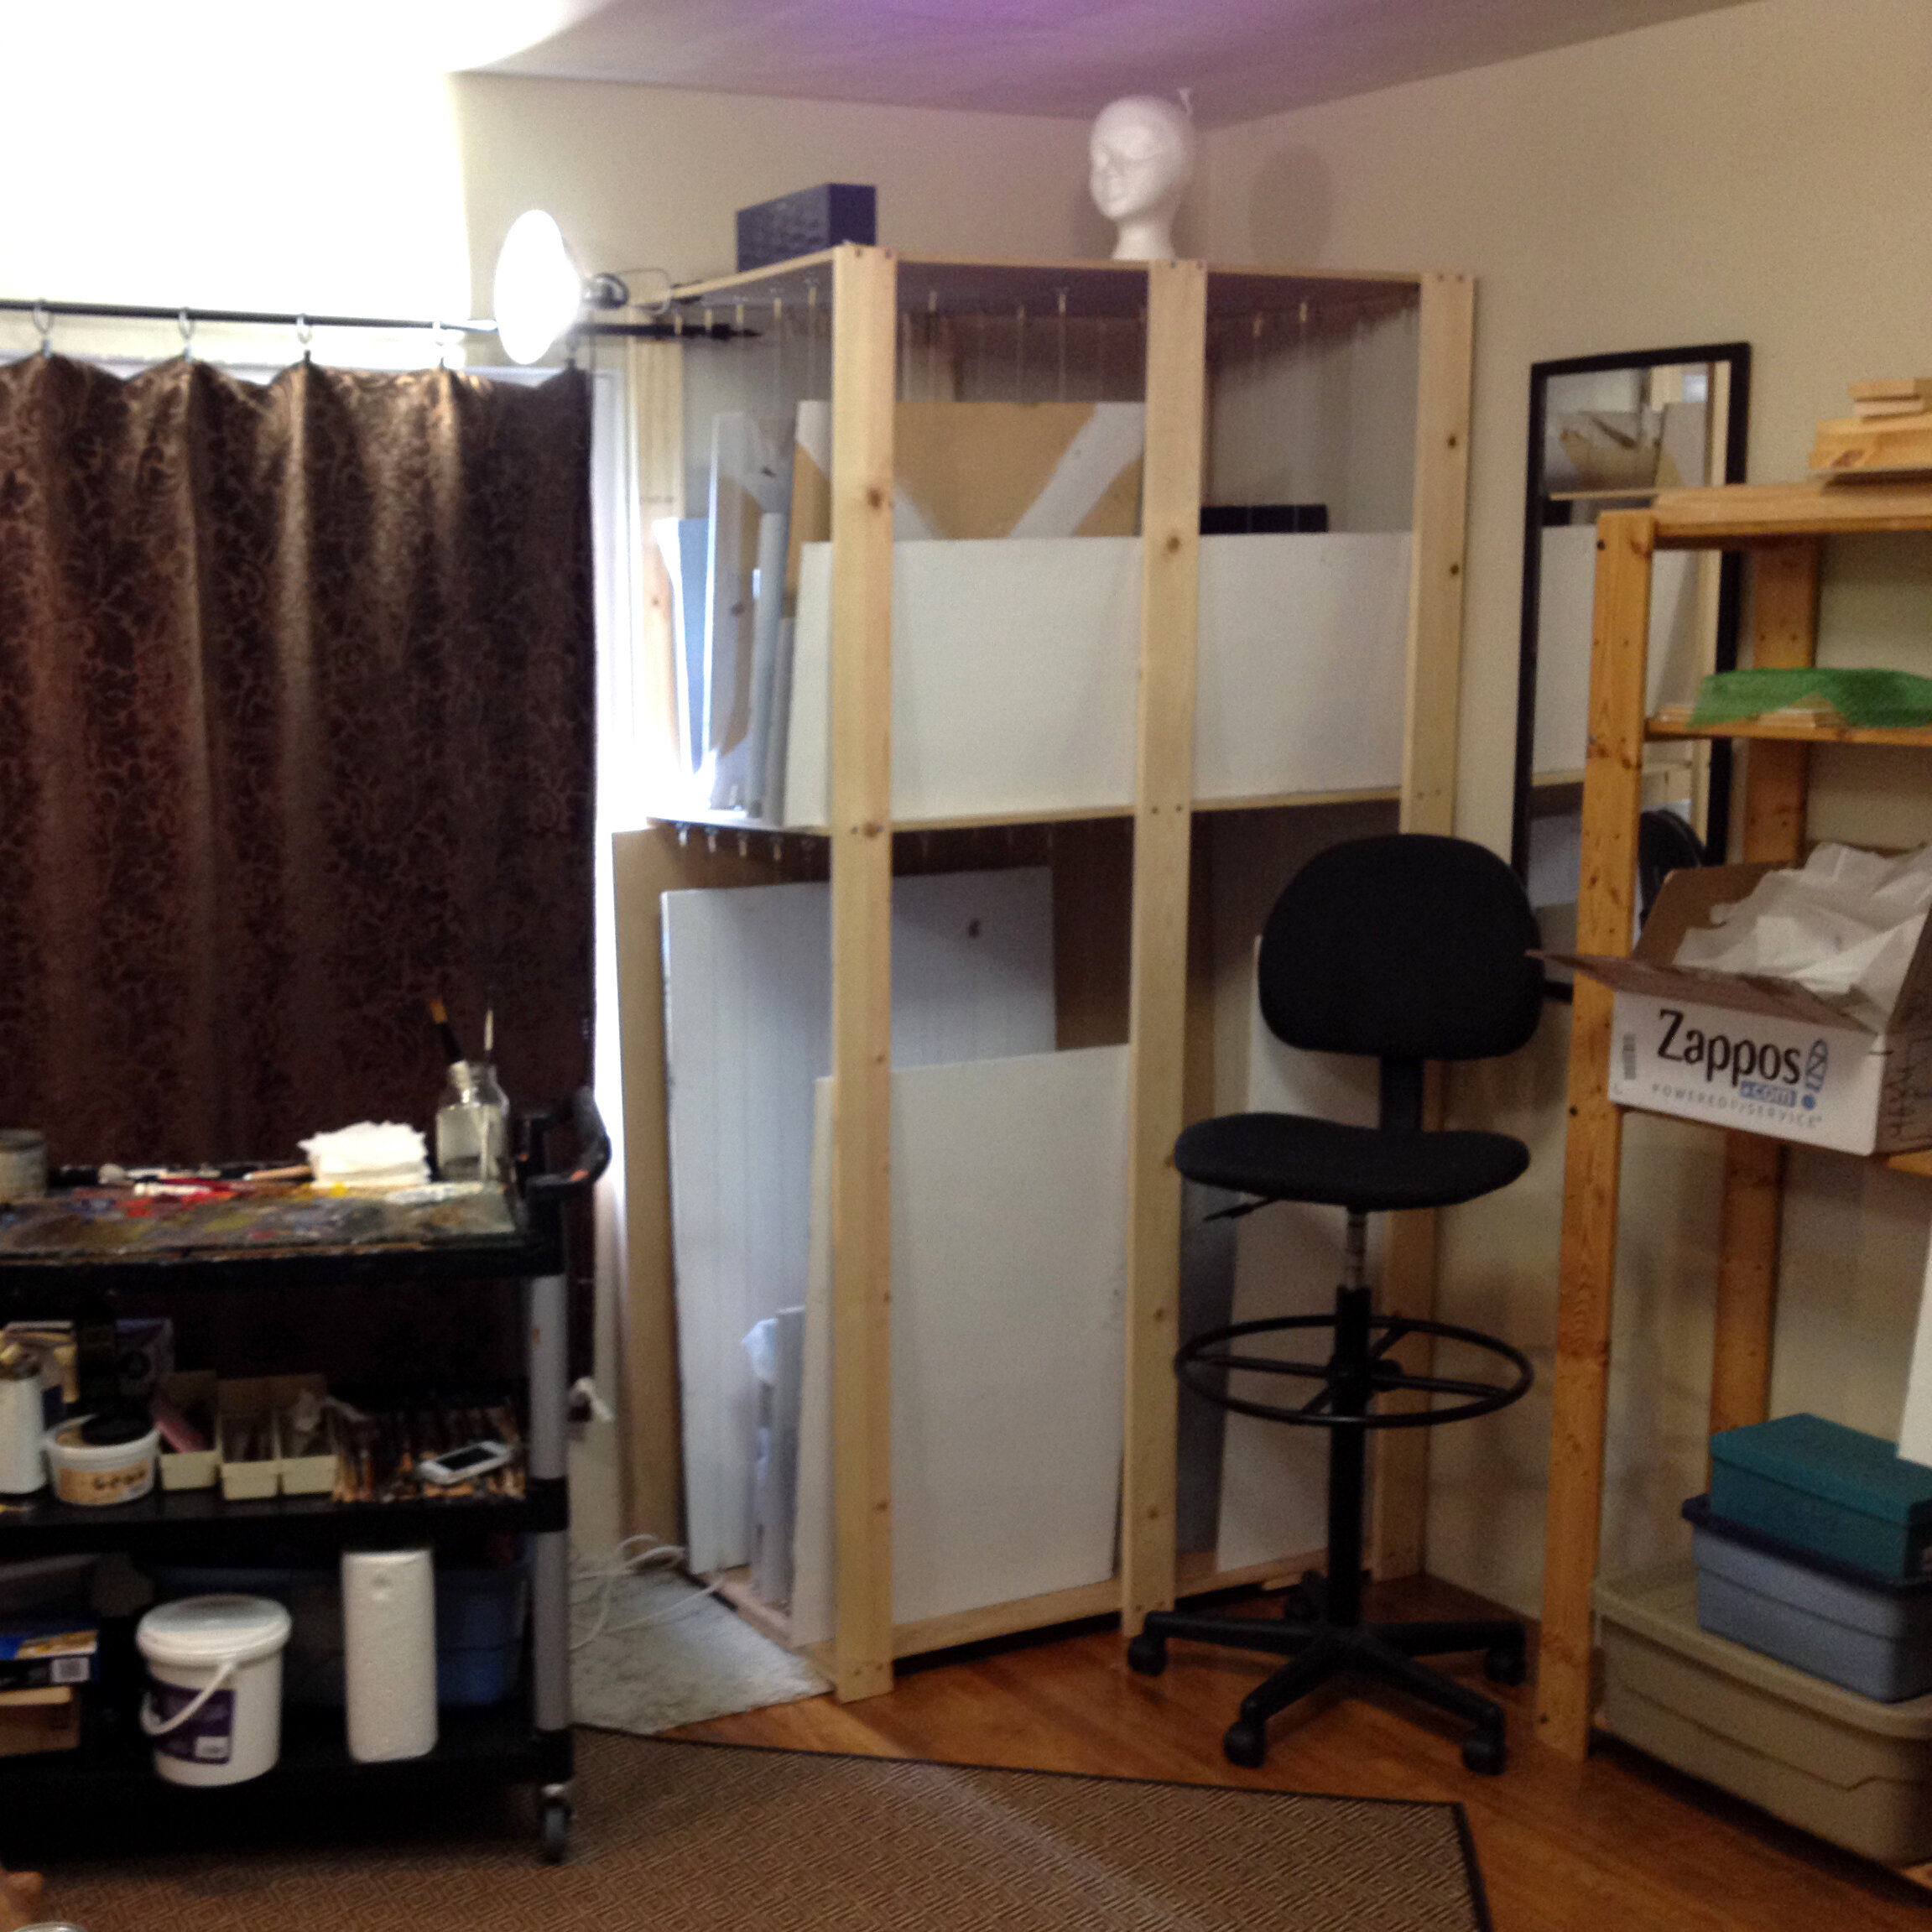
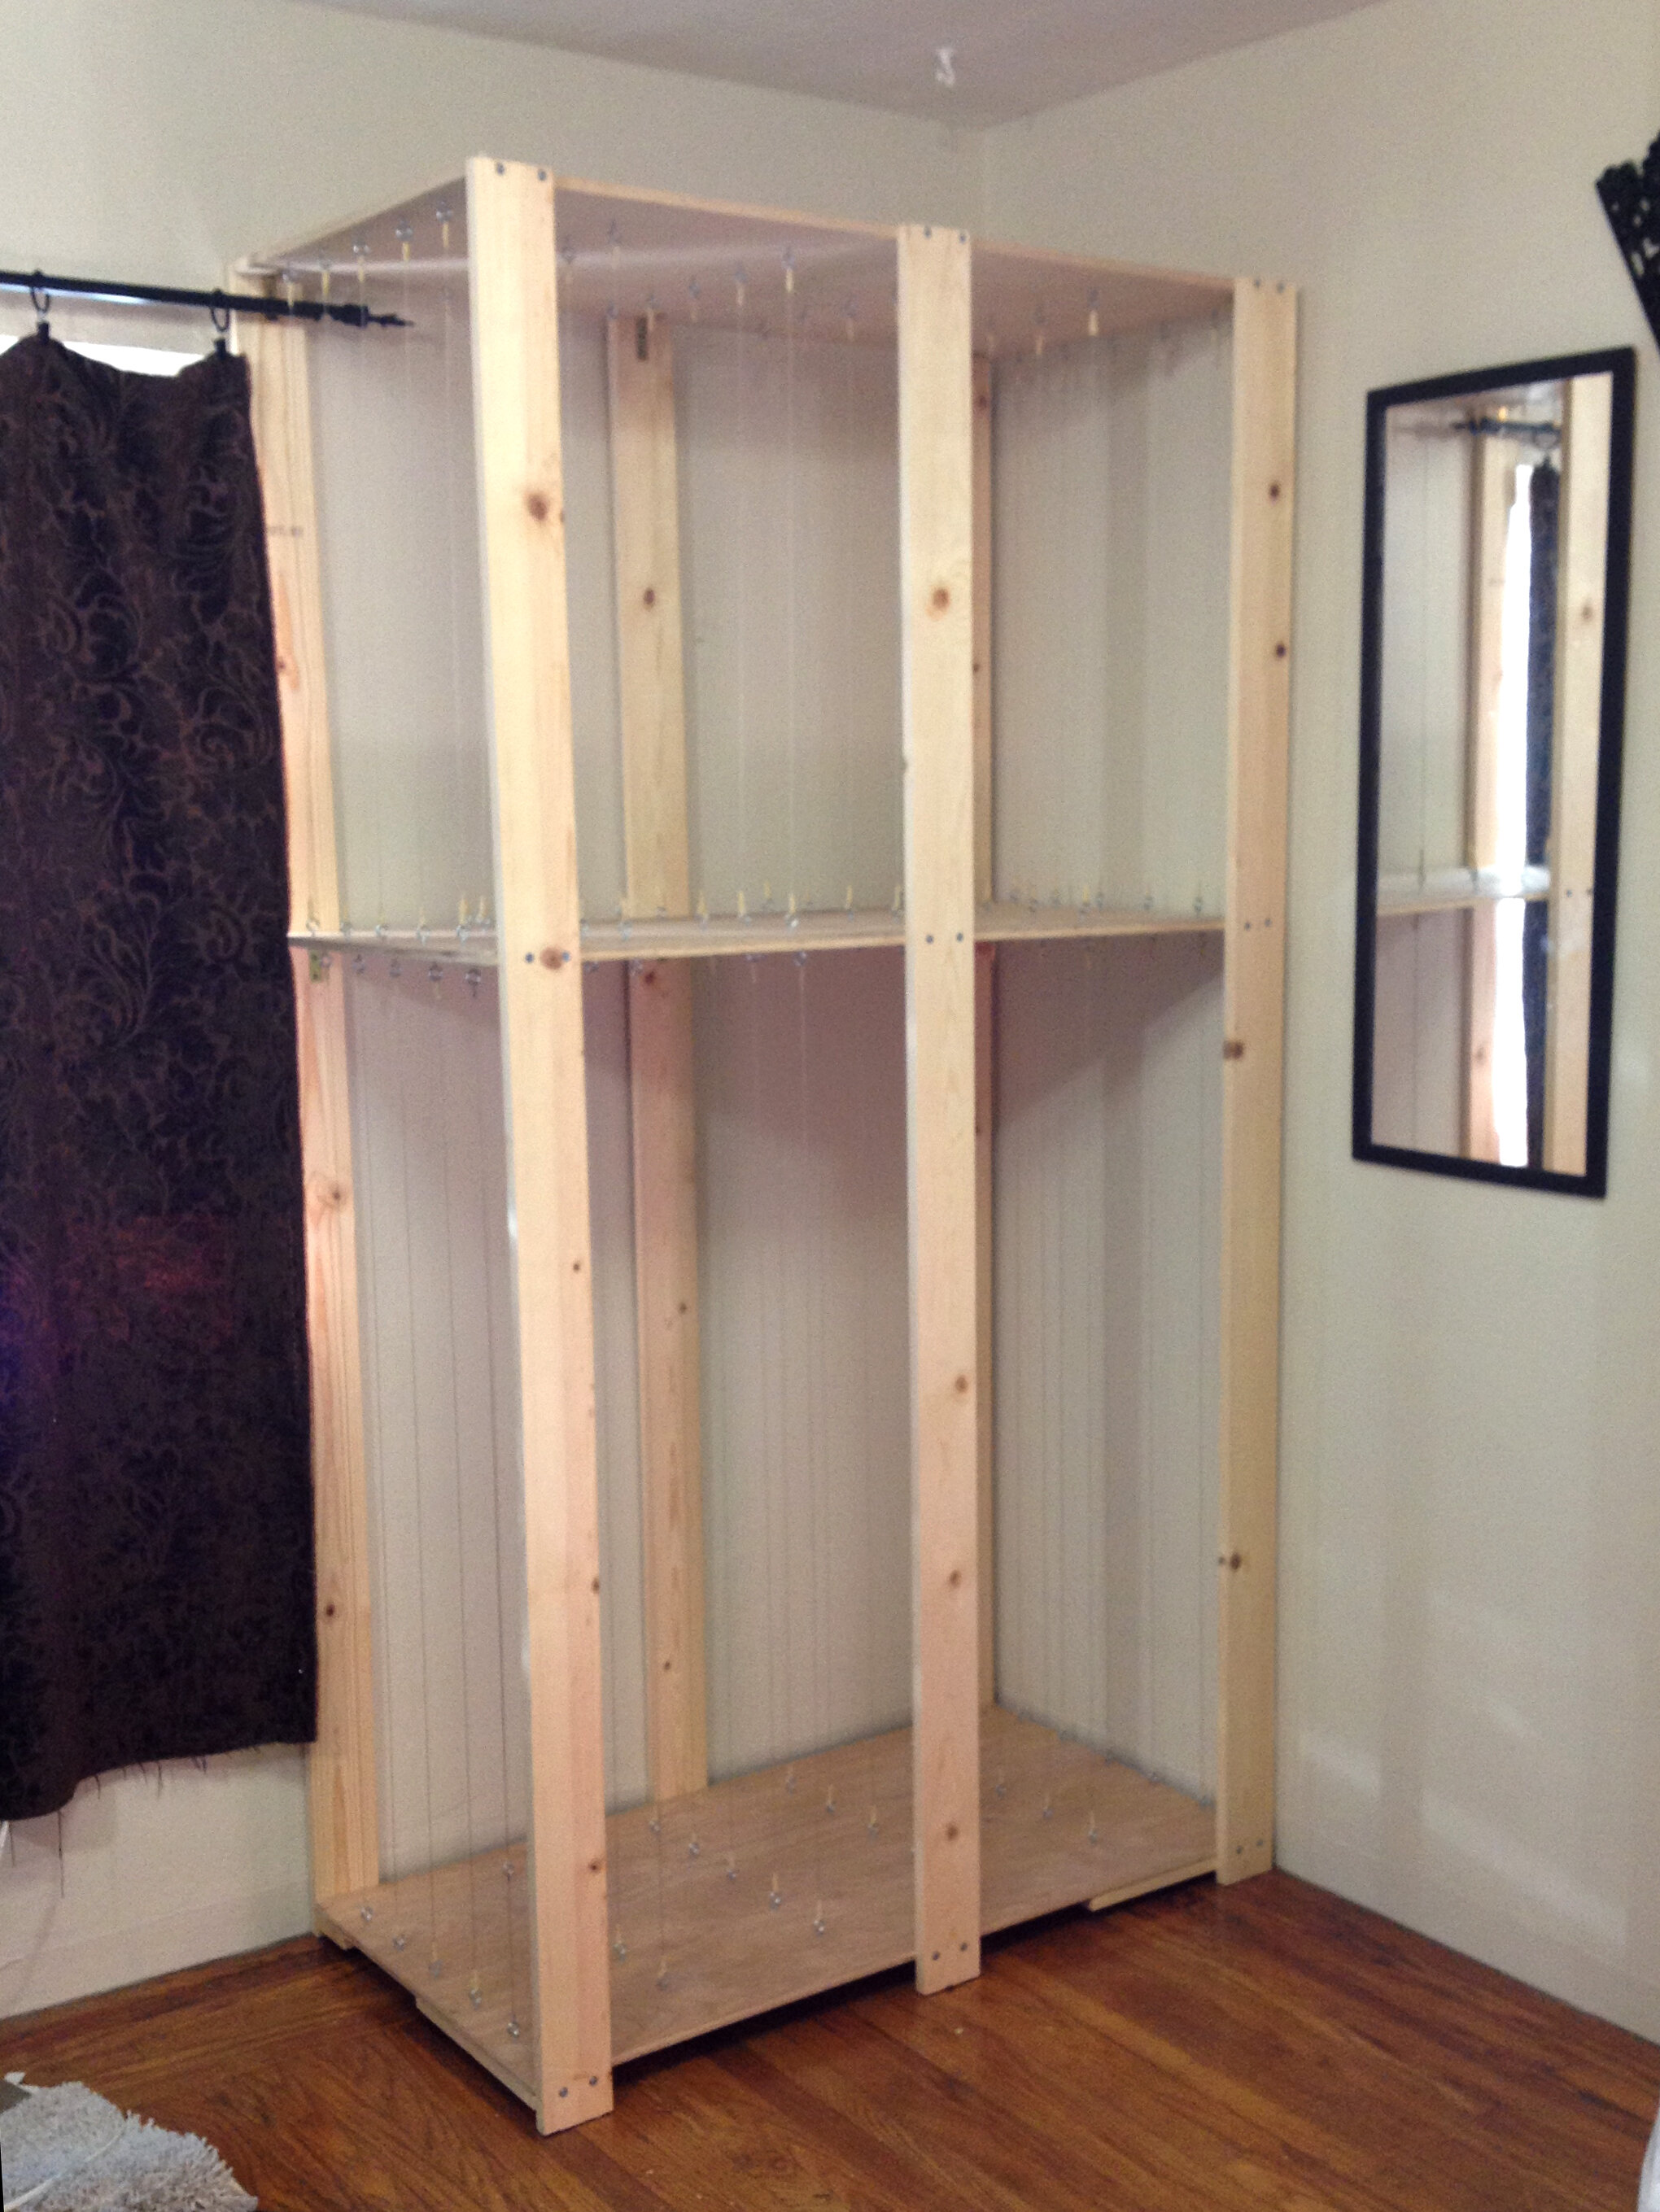
The first step was setting up a large mirror in my studio opposite of my easel facing the painting. This is a great way to add distance to your space if you also work in a tiny studio! The mirror will double the distance while also flipping the image, so you can constantly “back up” and get a fresh perspective as you paint. It’s my all time favorite tool, and 100% necessary for working on large scale paintings in a small room.
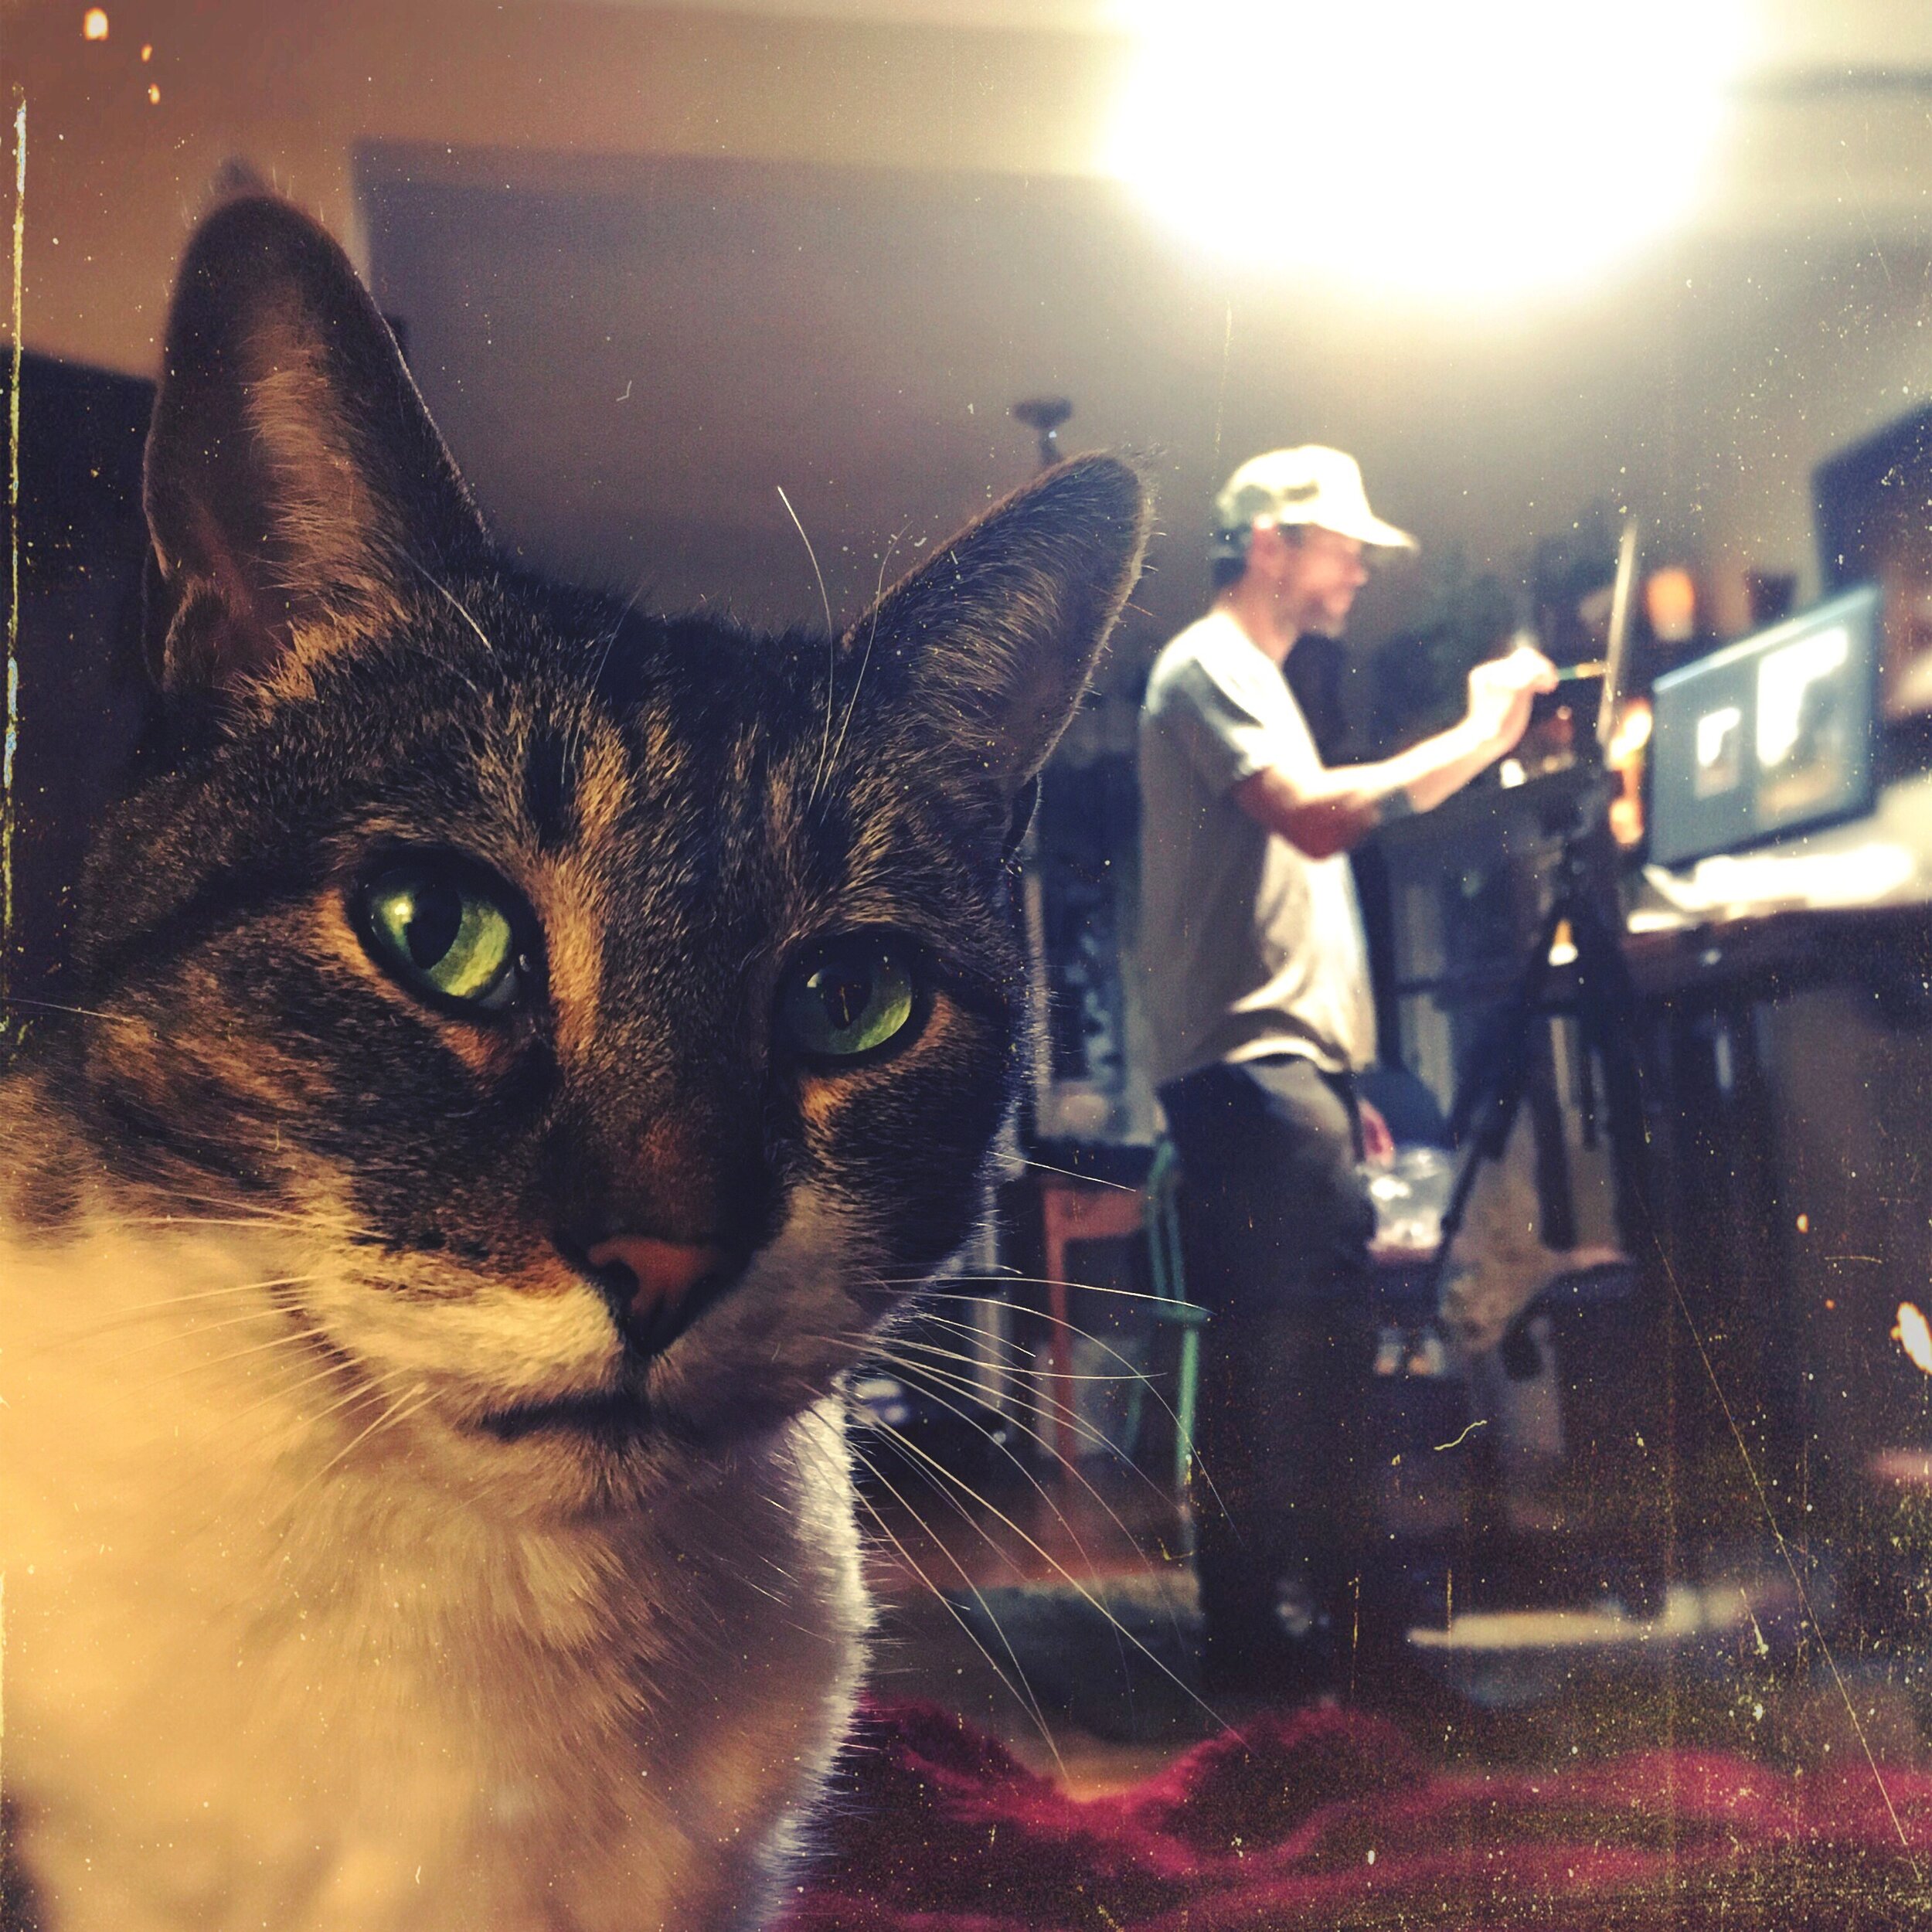
And then because this painting (like most paintings) is a marathon and not a sprint, it’s crucial for me to have some friends and familiar jokes keeping me company in the background. Literally (and shamelessly) “Friends” and of course the gang from “It’s Always Sunny in Philadelphia” keep the studio light and breezy and strangely have a meditative effect on me while I paint. So in case you couldn't work out what is playing on my screen, there it is… just some old pals helping to keep me focused and feel less alone while I try and stay planted in my chair. :)
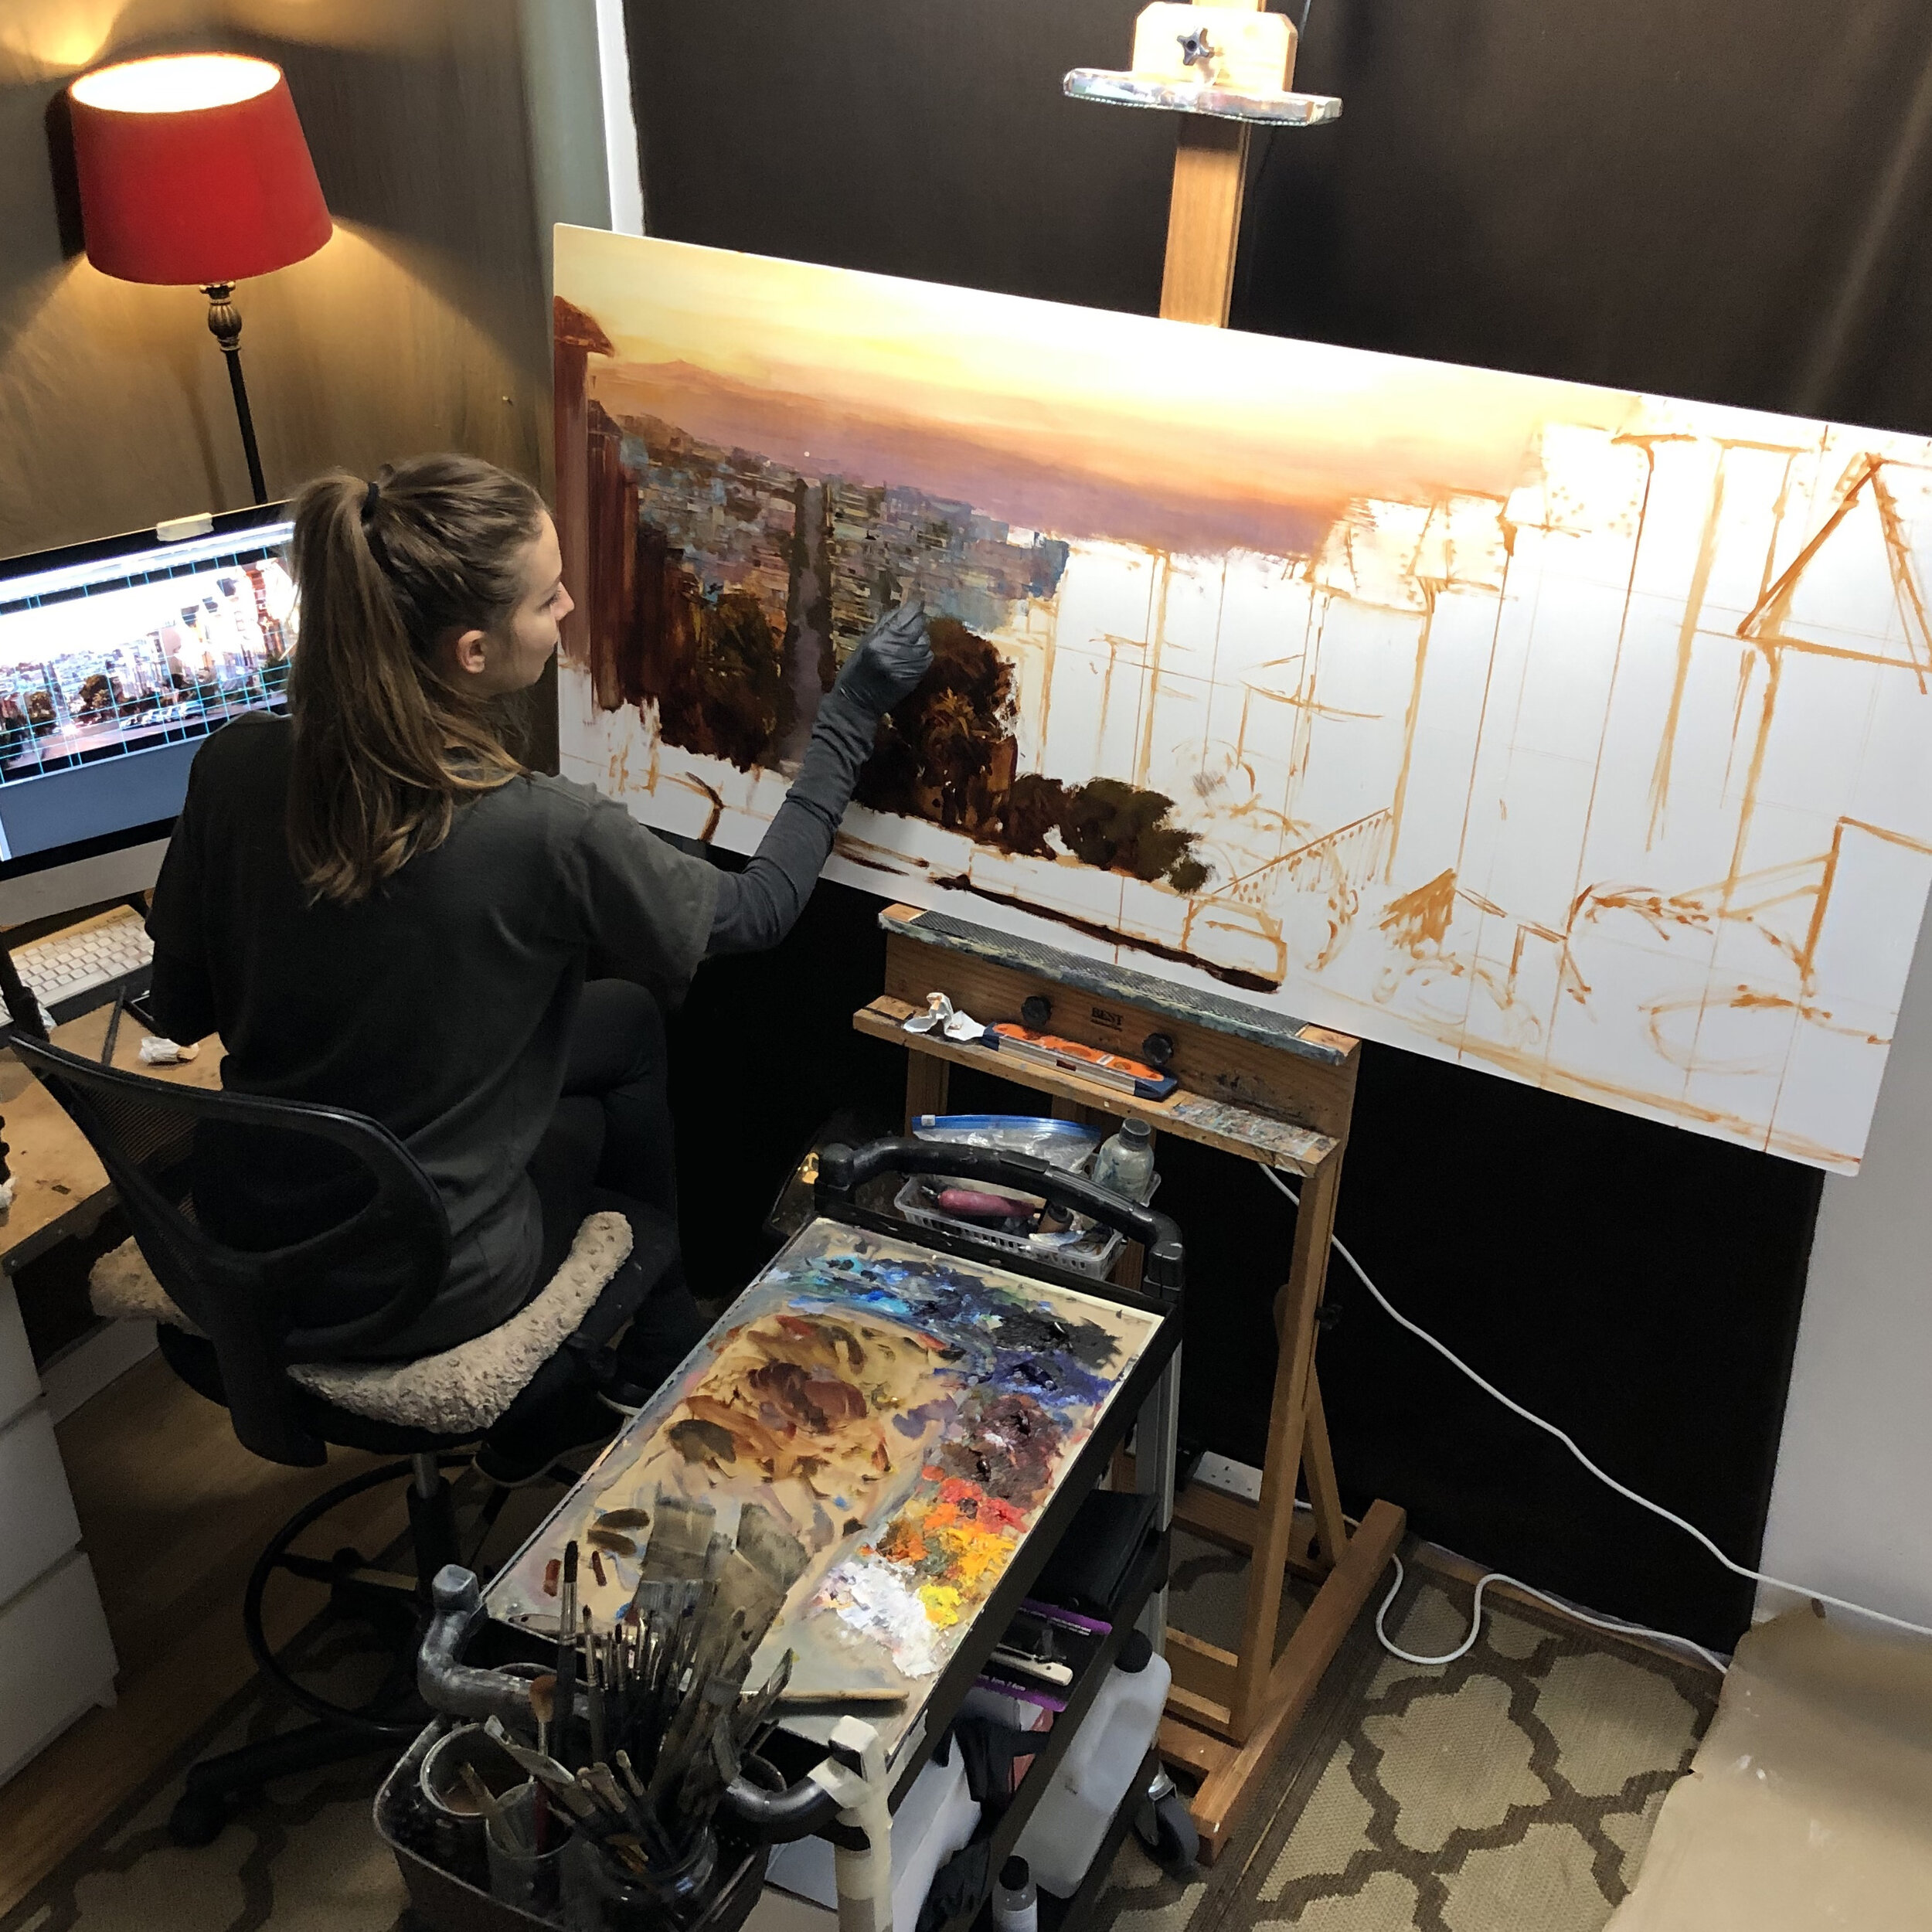

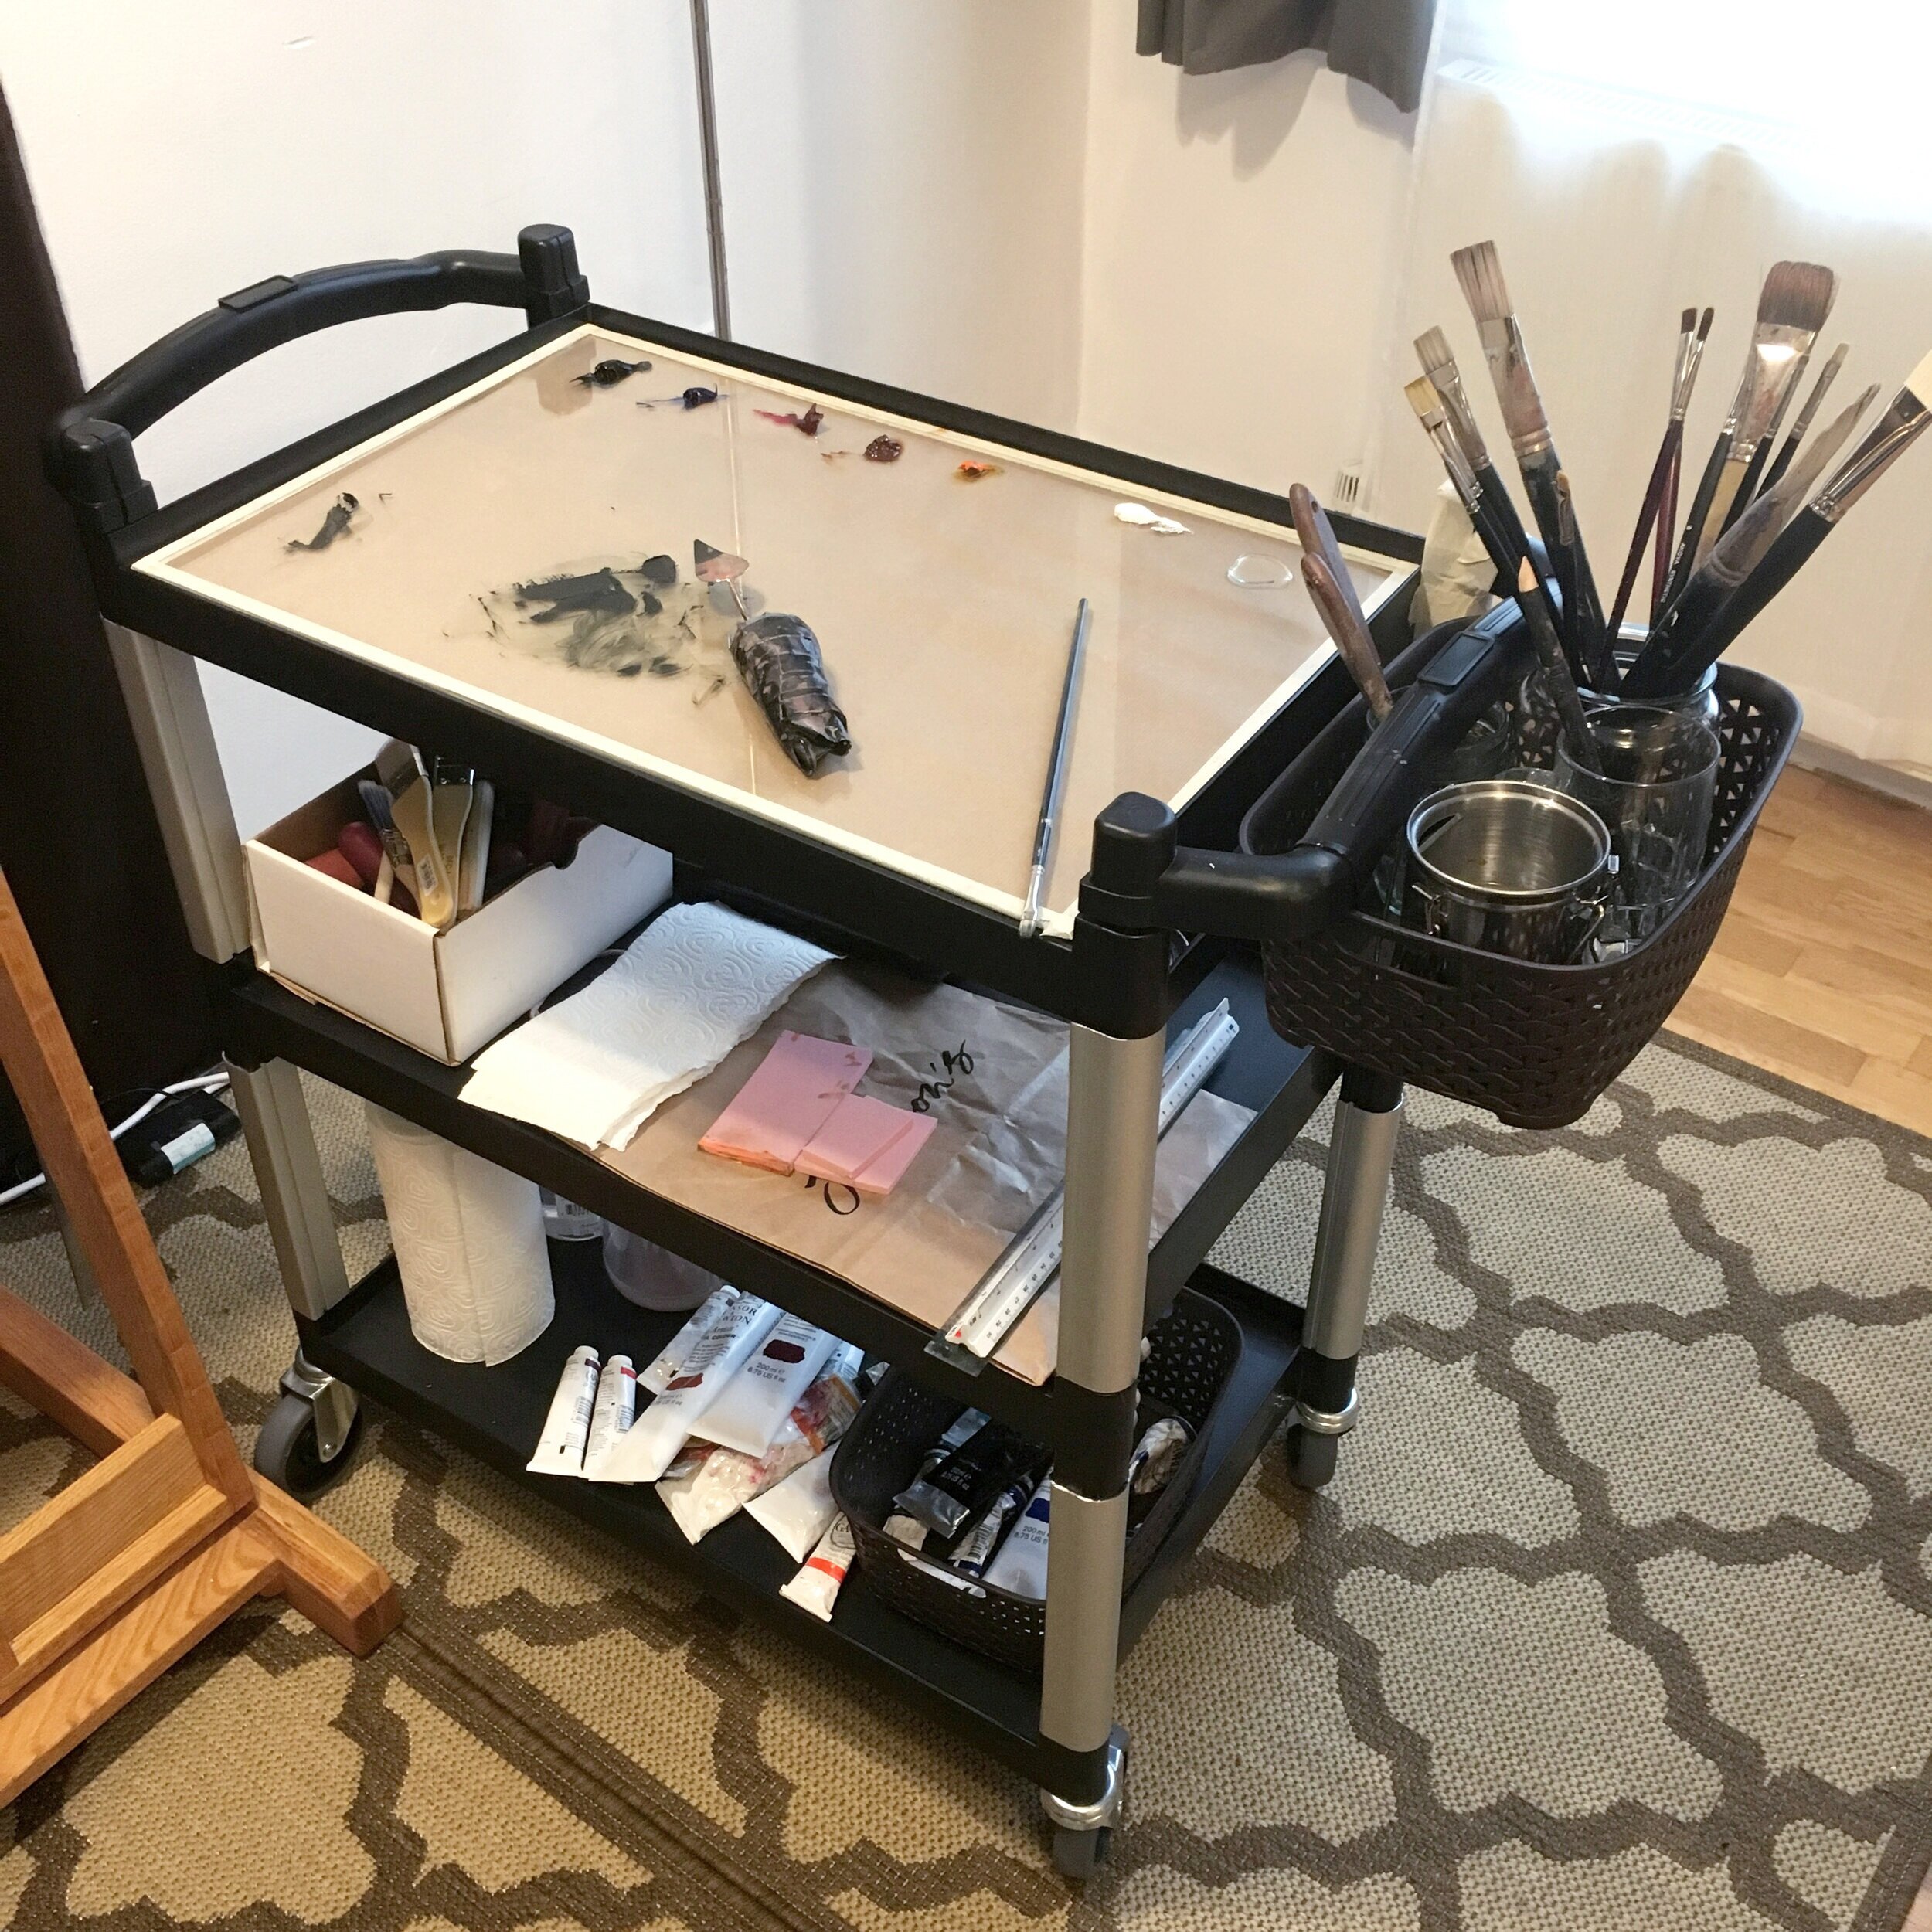
But onto the painting bit…. for the drawing I used a simple grid to help with perspective and scale, assuring everything was correct before moving on. Step two was the “wash” or underpainting which was used as a base for subsequent layers of paint. At this point no white paint was used at all, it’s just the white of the gessoed panel showing through as I applied the paint and wiped it away that established a value study that I used as a roadmap. I let this layer dry completely and then began the many, MANY layers of opaque paint and glazes.
In total, this painting took me close to three months to complete. I worked on it simultaneously with other paintings, allowing time for the layers of paint to dry between each session. There were days when it felt like no progress was made whatsoever, and others where huge changes happened. But that is just the nature of a cityscape, they set their own pace!
I hope you enjoy this journey just as much as I did and get to do a little “California Dreamin” along the way.
And if you’d like to see the full timelapse video of this painting, click here….