Hello Friends! This is the first of hopefully many blog posts to come, and I’d like to begin with chatting about an essential part of my own daily existence, and something that I hope will benefit you as well …your own at-home space to create.

Hank in my old studio in Oakland, CA
There’s a feeling that comes from creating and building something from nothing... Something that has never existed before now. For me, the closest feeling I can relate that to is hope. It’s new growth… Like seedlings popping their heads up for the very first time. Making art is springtime with the anticipation of undiscovered summer blooms. So, therefore, putting time into building a space that will encourage you to create, and create more often, you support those beautiful and important feelings of hope… and who knows what kinds of flowers will bloom from your garden?
So first, I want to share a bit about my “studios” I’ve worked in over the years… From personal experience, you don’t need massive square footage, professional lighting, or even windows to build a space to create. My first studio was the corner of my kitchen in a 500 sqft apartment in San Francisco. I could reach the stove, refrigerator and sink all from my painting chair just by stretching out my arms. I specifically remember one time cooking macaroni and cheese while painting a picture of a boat simultaneously. It wasn’t ideal. BUT, it was the only spot I had that I could leave my palette and tabletop easel out 24/7, and never have to pack up my station. So important! I even submitted my first paintings to a gallery working from that kitchen. Whatever type of space you have, you can make it work. All you need is a corner in your home that is devoted to YOU and only YOU.
So, here’s a list of my essentials for ….
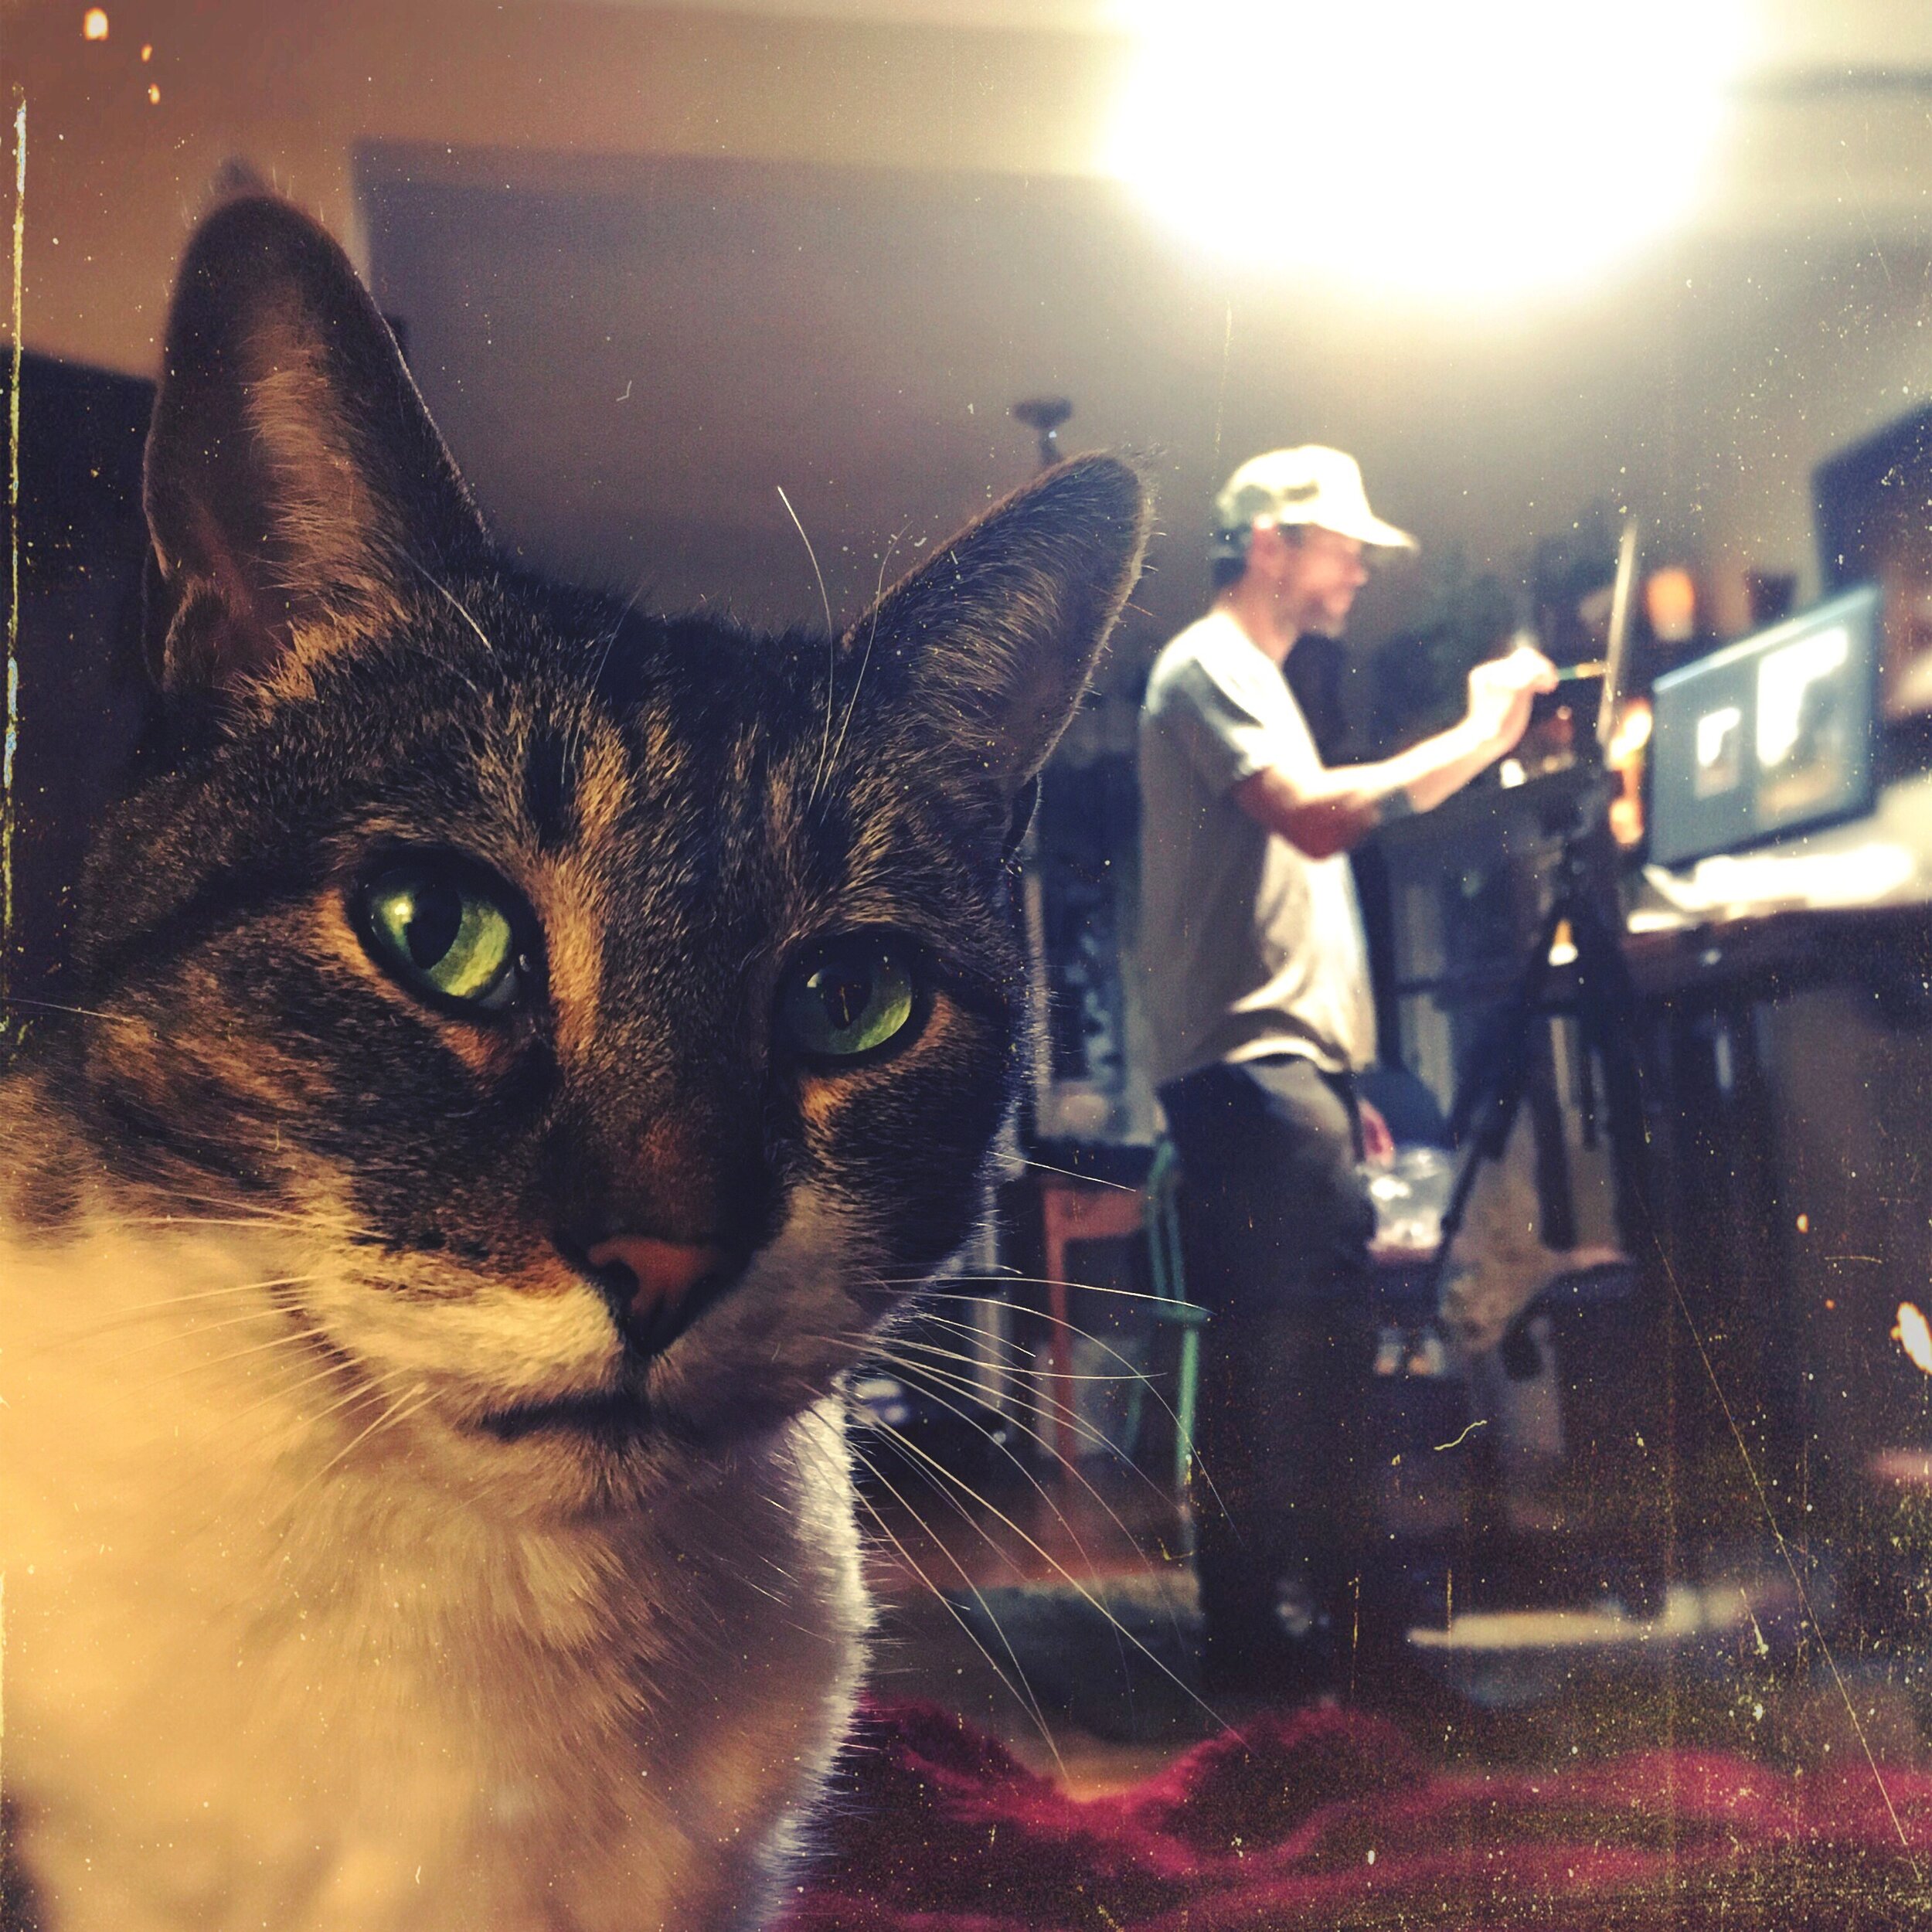
Our living room by day and Nate’s mobile painting studio by night. It just wouldn’t be realistic if Hank wasn’t in every shot.
Your Home Painting Studio:
#1 - It’s time to take yourself seriously: Maybe this only applies to myself, but it took me a very long time to take my art seriously. And if you’re currently in that boat, try not to let that influence your creative space or process. “Fake it till you make it” and “Dress for the job you want” totally apply here. The sooner you start to take your art more seriously, the sooner you will allow yourself the time, resources, and discipline it’s going to take to help you improve. And that doesn’t mean spending more for top-shelf products, but maybe that means…. telling your family or housemates that 3 nights a week you’re devoting 3 hrs to painting undisturbed (more would be even better!), or maybe it’s investing in a new easel that isn’t the wobbly hand-me-down, or finally fixing your lighting so the glare on your canvas is gone, or investing time into learning photo editing software to create better reference photos, etc. etc. Like everything, it’s one step at a time, but each tiny step you take to improve your studio environment (or build your first “studio”), will be one less excuse you’ll have not to paint!

London Studio all set up! Simple H-frame easel, two flexible arm lamps attached up top, palette on painting cart with added basket to hold brushes zip-tied on the side, adjustable chair, and computer on top of desk made from a wallpaper fold out table. Oh, and old curtains hung on the walls because this is a rented apartment and I can get messy. :)
#2 - Get creative with your space, and lock down a permanent or semi-permanent spot: There’s nothing more important when learning how to paint than to actually sit down and PAINT. Plain and simple. So the more of a hinderance it is to set up your painting gear, the less you will be inclined to do so. Believe me! This has been the biggest make or break in my career in art. I was once asked, “do I paint only when I’m inspired?” I so wish that were true. But that’s just not how this works. Most of the time, forcing myself to paint during the times I’m least inspired is what brings me inspiration! I would have never discovered half of the things I’ve discovered with painting had I not pushed myself. So having a permanent or semi-permanent zone to jump back on the horse easily, flexes the discipline muscle you need to continue to make creative choices and solve visual problems even when everything seems to fighting against you. So look around your house, see what furniture needs to be rearranged (or removed altogether), grab your velvet ropes (or room divider screen) and dedicate a corner just for YOU. :)

My Oakland, California studio - in one of it’s many configurations…
#3 - Lighting: This one seems obvious, but I think it took me three years to finally get my lighting right. No matter what I did, I couldn’t help but feel deceived every time I’d take my painting off of my easel and bring it into another room, or god help me, outside in the daylight. The colors and values would change so dramatically it felt hopeless. And not to mention glares from lights in the room on the canvas and palette! So here are a few things I do in every studio I create to avoid some common issues…

Aluminum shop lights attached to the top of my easel using some L-shaped pieces of metal I found at the hardware store. And no, I won’t bother to look up what those actually are. :)
Ensure adequate light to see painting AND palette: I like to clip “aluminum clamp lights” or “flexible arm” lamps directly above my painting, as high up as I can possibly attach them. This way the lights are bright and shining directly on my painting and palette equally, but not too bright, tricking me into believing my painting is lighter in value than it truly is. *If your painting seems to always turn out darker than you planned, your lights might be too close to your canvas* Clip the lights at the very top of your easel. And if you don’t have an easel to attach the lights, try moving your painting station next to a tall piece of furniture (wardrobe, dresser) or close to a window where you can attach the lights to the top of the wardrobe or to the window curtain rod. Either way, attach them as high up above your painting as you can. Here are a few links:
Prevent Glares: Diffuse your lights… Most of the time if you cover the bare bulb with a flame retardant diffusing cloth it should eliminate the glare on your palette. (But make sure it does not touch your bulb!) I use Photography light diffuser cloth covers. And again, having your dominant light source directly above your painting and palette should help improve any glares that are a result of light shining down at an angle.
Bulb temperature: This is going to be a personal preference, but I like bulbs that are skewed a bit cooler. “Bright white” is my preferred temperature, as they are usually not “warm” or “yellow”, but also do not have a blue or pink tint that some of the “daylight” bulbs can have. *When light bulbs are too warm (or yellow), colors can appear warmer and more saturated than they truly are. When light bulbs are too cool (or blue), colors can appear cooler and less saturated than they truly are* “Bright White” bulbs are typically right down the middle, which helps me to “trust” the colors I’m mixing, as they will not change dramatically when the painting is brought from warm lamplight, to cool daylight.
Use indoor lighting as dominant light source, not daylight: This one relates to the temperature of light in the room as well… The colors are going to change dramatically on your palette and on your painting depending on what the light is like in the room. So if you’re dependent on daylight as your main source of illumination, you’re subjected to gray skies and blue skies as well as morning and afternoon light. Each variation changing what you’re seeing. *Therefore if you use indoor light as the dominant light source illuminating your painting & palette, you have more control* A little window light is fine, as long as it’s not the dominant source of light illuminating your painting and palette.
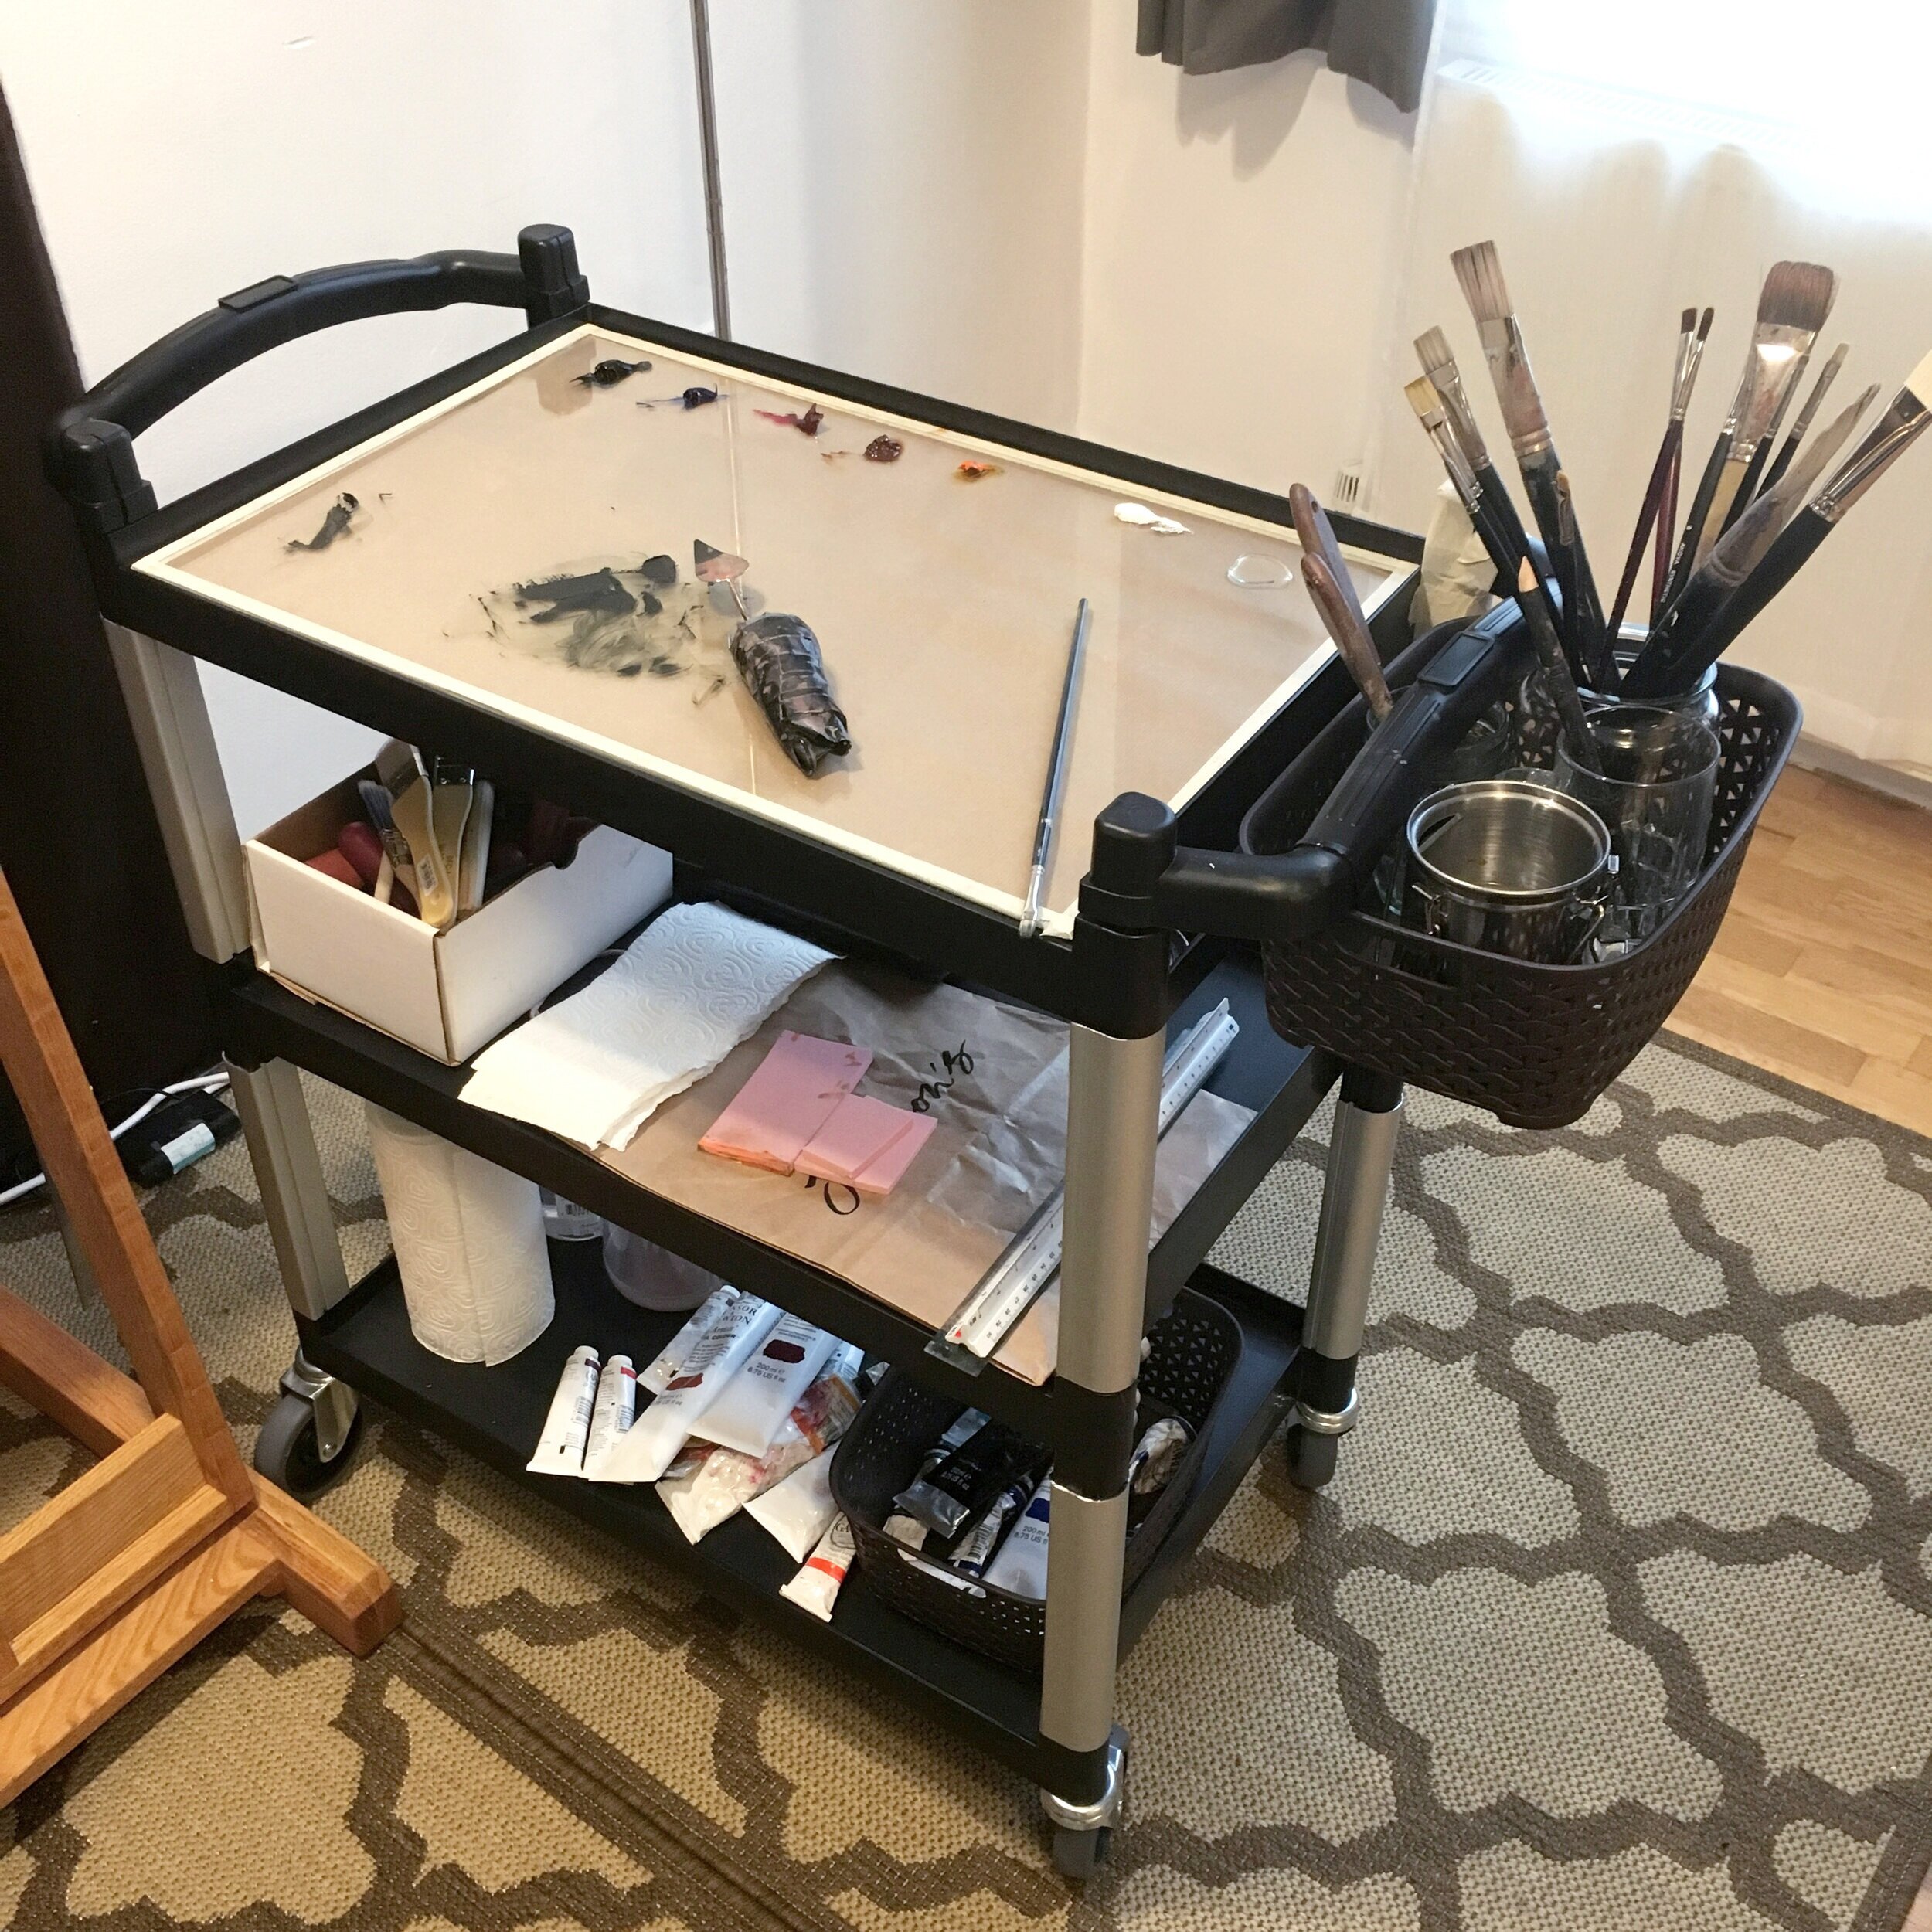
My newest bussing cart palette in my London studio still sparkling clean! *Another benefit of a palette on wheels, is it can be rolled and stored out of the way when not in use, but does not have to be completely taken apart at the end of each session.
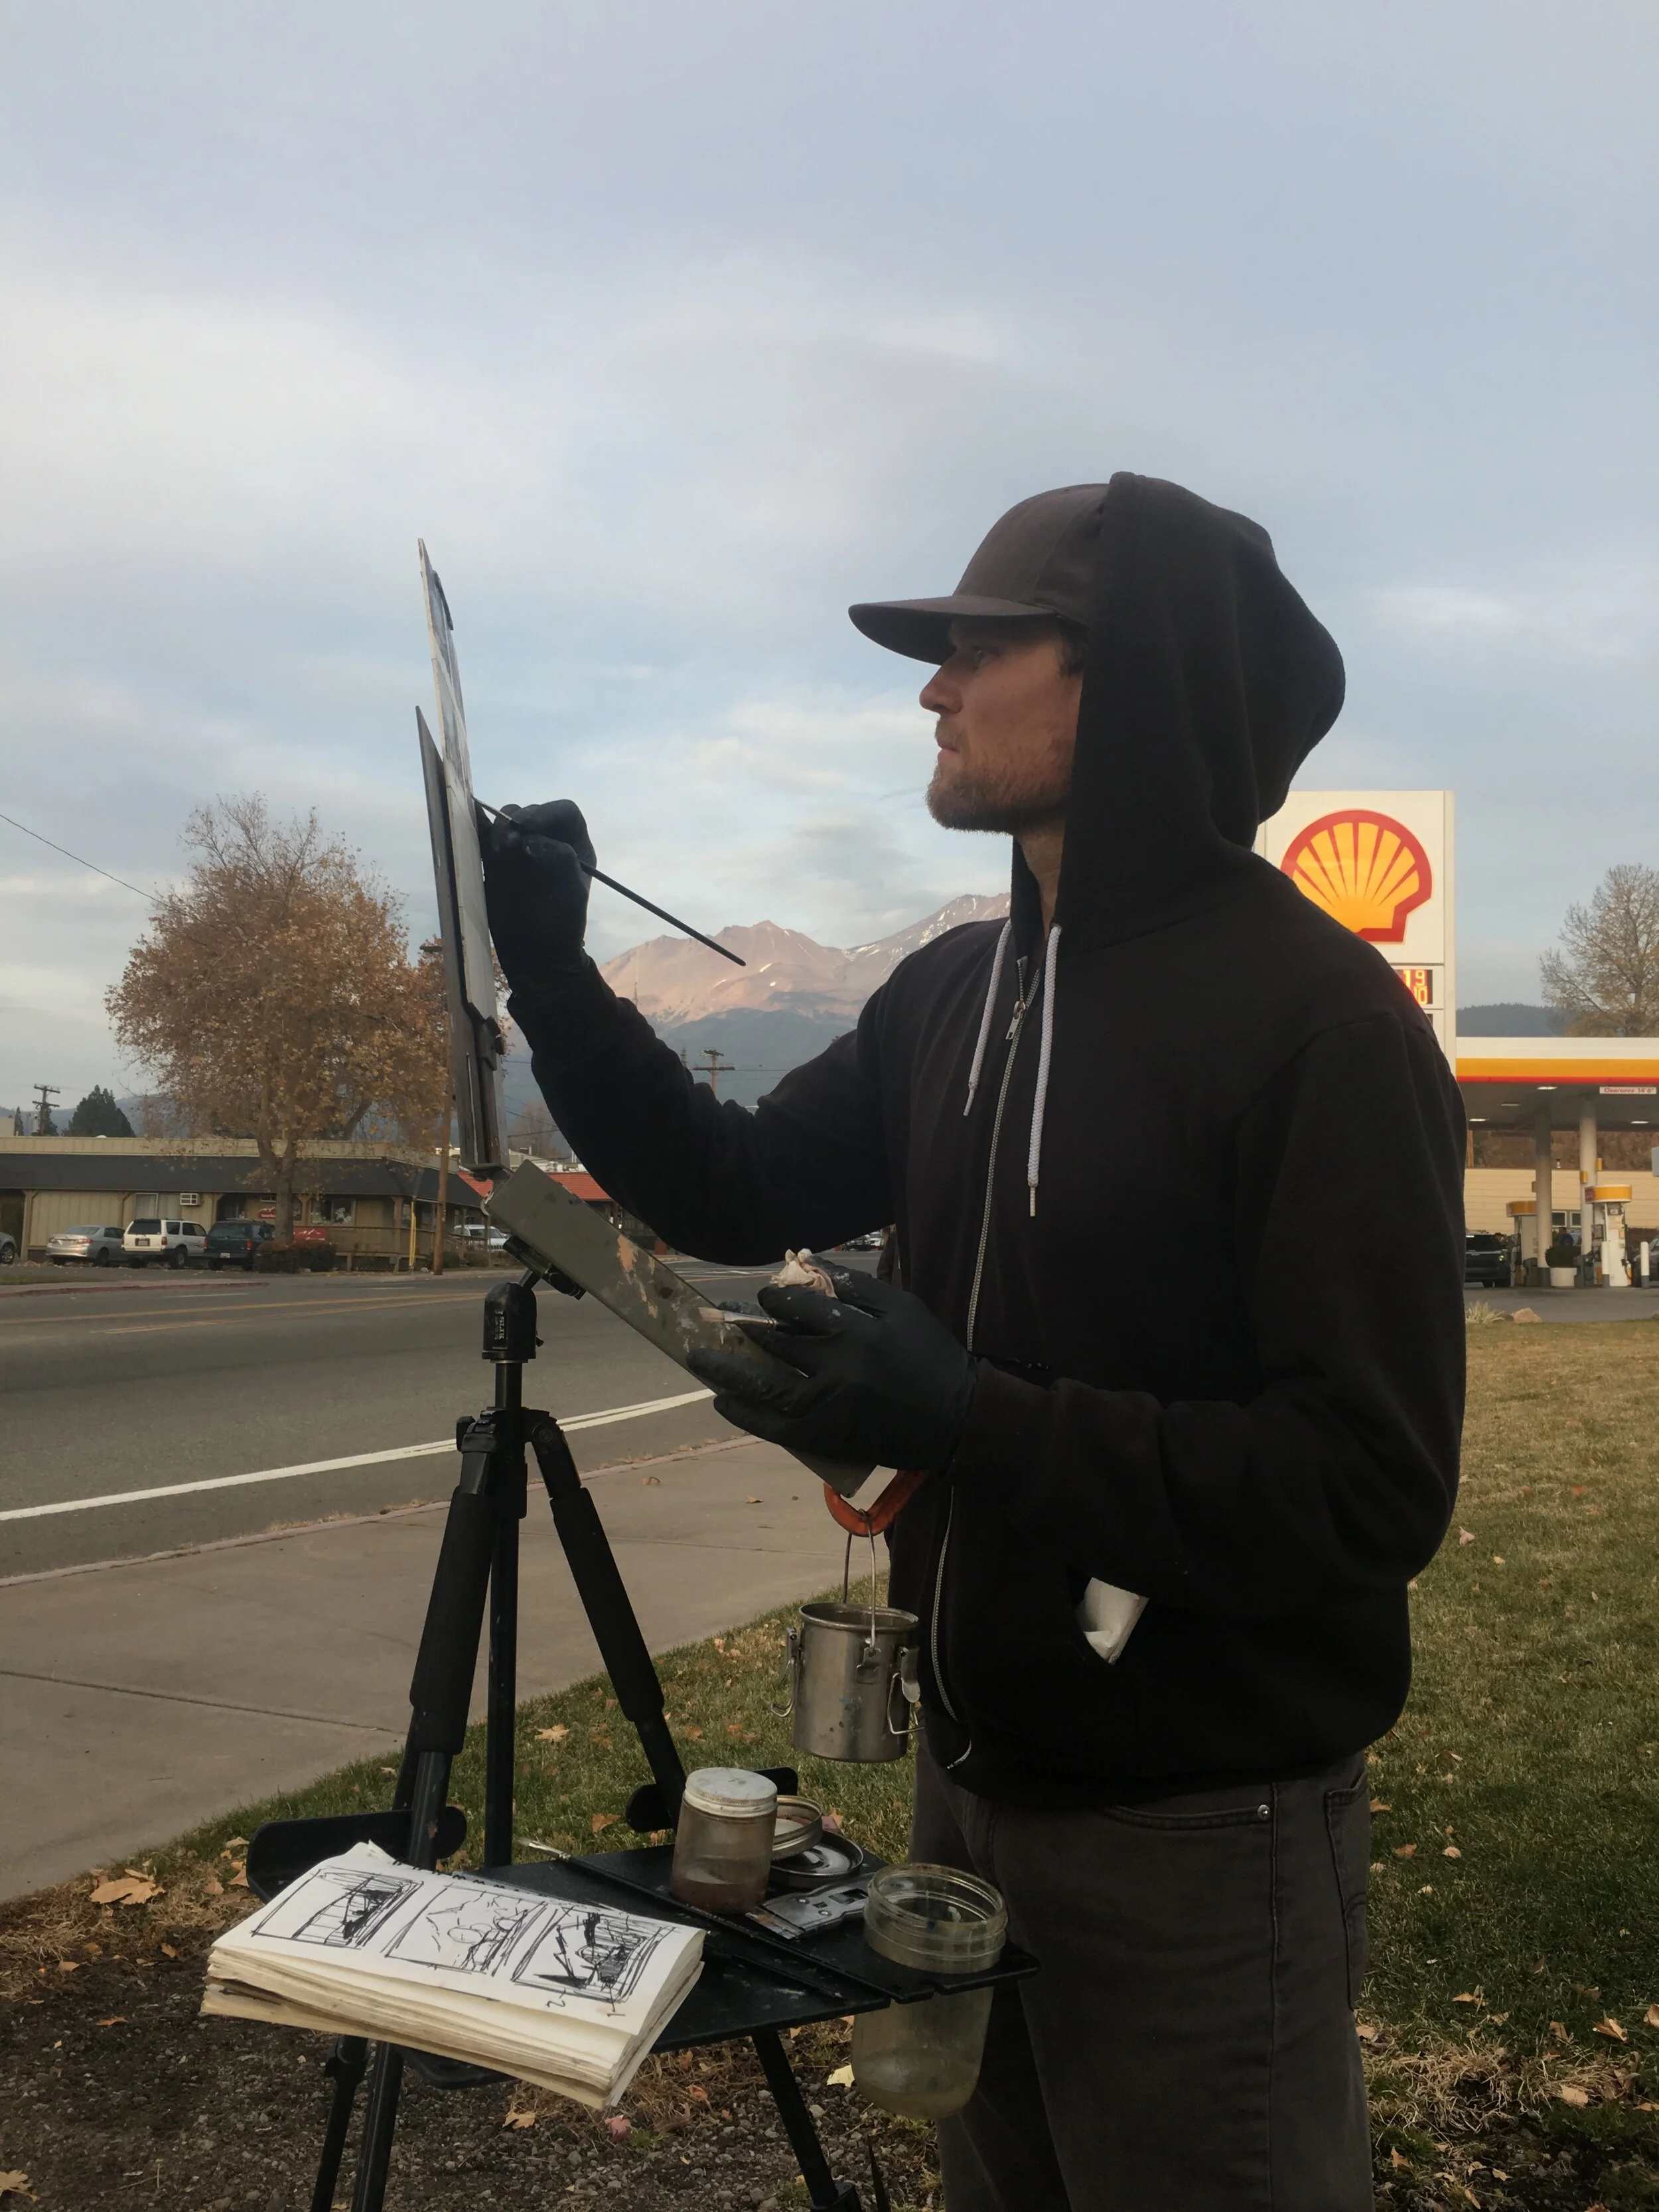
Nate Plein Air painting in Mt. Shasta with his tripod and Strada easel he uses for Plein Air painting as well as indoor studio painting.
#4 - Easel: Stability is key! There is nothing more frustrating than a wobbly canvas when you’re in the flow. But sometimes a giant easel is not a possibility. There are lots of options out there! The one thing you want to avoid is any sort of “display” easel. These are not for painting, they are for displaying artwork once it’s finished. Also in my personal experience, French Sketching Box Easels tend to take up a lot of space. So instead, try an easel on wheels, a table top box easel, or an easel that attaches to a camera tripod - Strada easel or Prolific Painter - Day Tripper. My current easel is an H-Frame “Best Classic Dulce” made my Jack Richeson & Co. It’s sturdy, well made, and folds up flat if you need to tuck it away!
#5 - Palette: Mobility is key! If you hold your palette, this does not apply… but for those of us who like to have both hands free, it’s best to keep your palette on a flat surface nearby. BUT, if you’re having issues with glares, general comfort, or simply not enough space to keep every item of your painting station in one place … put your palette on wheels! I use a trolley or “restaurant table bussing carts” to hold my palette, paint, brushes, paper towells, etc. It fits everything and I can roll it around wherever I please! I get a custom cut piece of glass to fit the top shelf (my palette), and then use the other shelves to hold supplies. Otherwise a bedside table on wheels is great too! Here are a few links….
#6 - Computer vs. printed reference: The number one thing that has had the biggest impact on my paintings, was switching from printed photo reference to painting from a monitor screen. If you paint from life, that’s a different story, but if you’re painting from photos, work on getting your computer or laptop moved to your painting station so you can paint from the monitor instead. Benefits of working from a monitor:
The colors, values, and detail of your image are not subjected to a “print quality” version.
You have the option to zoom and see detail more closely!
It’s self-illuminated which helps for overall color and brilliance.
You can have many different versions up on the screen at once depending on what you need… original photo, black and white copy, small thumbnail, other inspirational art, etc.
#7 - Painting Supplies: This of course will vary depending on the artist…. but again, think about #1 and #2 on this list. *The most important aspect of improving your skills as a painter, is simply to paint more, and paint more often* So do whatever it takes! For me, that means not buying the most expensive brands, but buying in bulk. The more precious my art supplies become, the less I want to use them in fear that I’ll “waste” high quality paint, destroy a beautiful new panel, or ruin a good sketchbook. It has stifled me for years! So to begin with, start with student grade supplies, buying canvas or panels in bulk online, or trying a few “packaged sets” of paint brushes and work your way up… I still use student grade brands, and have only upgraded where I felt necessary. Quantity over quality sometimes wins if that means less hesitation to face your fears and paint! :)
Here are few brands that I like that are relatively inexpensive:
Paint: Winton (Winsor & Newton student grade), Winsor & Newton professional grade, Gamblin
Synthetic hair brushes: Utrecht Tuscan Series (US brand), Akoya Synthetic (UK brand), Rosemary and Co. (Uk brand)
Bulk Wood Panels: Jack Richeson & Co - available on Amazon
Ok, well I think that will do it for this first post… I hope this list was helpful and maybe the teensiest bit inspiring for all of you badass creators out there! Do let me know if there’s a subject you’d like me to cover. I’m open to whatever will encourage more art and more beauty given out to the world!
Stay safe friends, talk soon!